6 Image Details
6.1 Show Selection
Pressing the button Show Selection opens a new window:
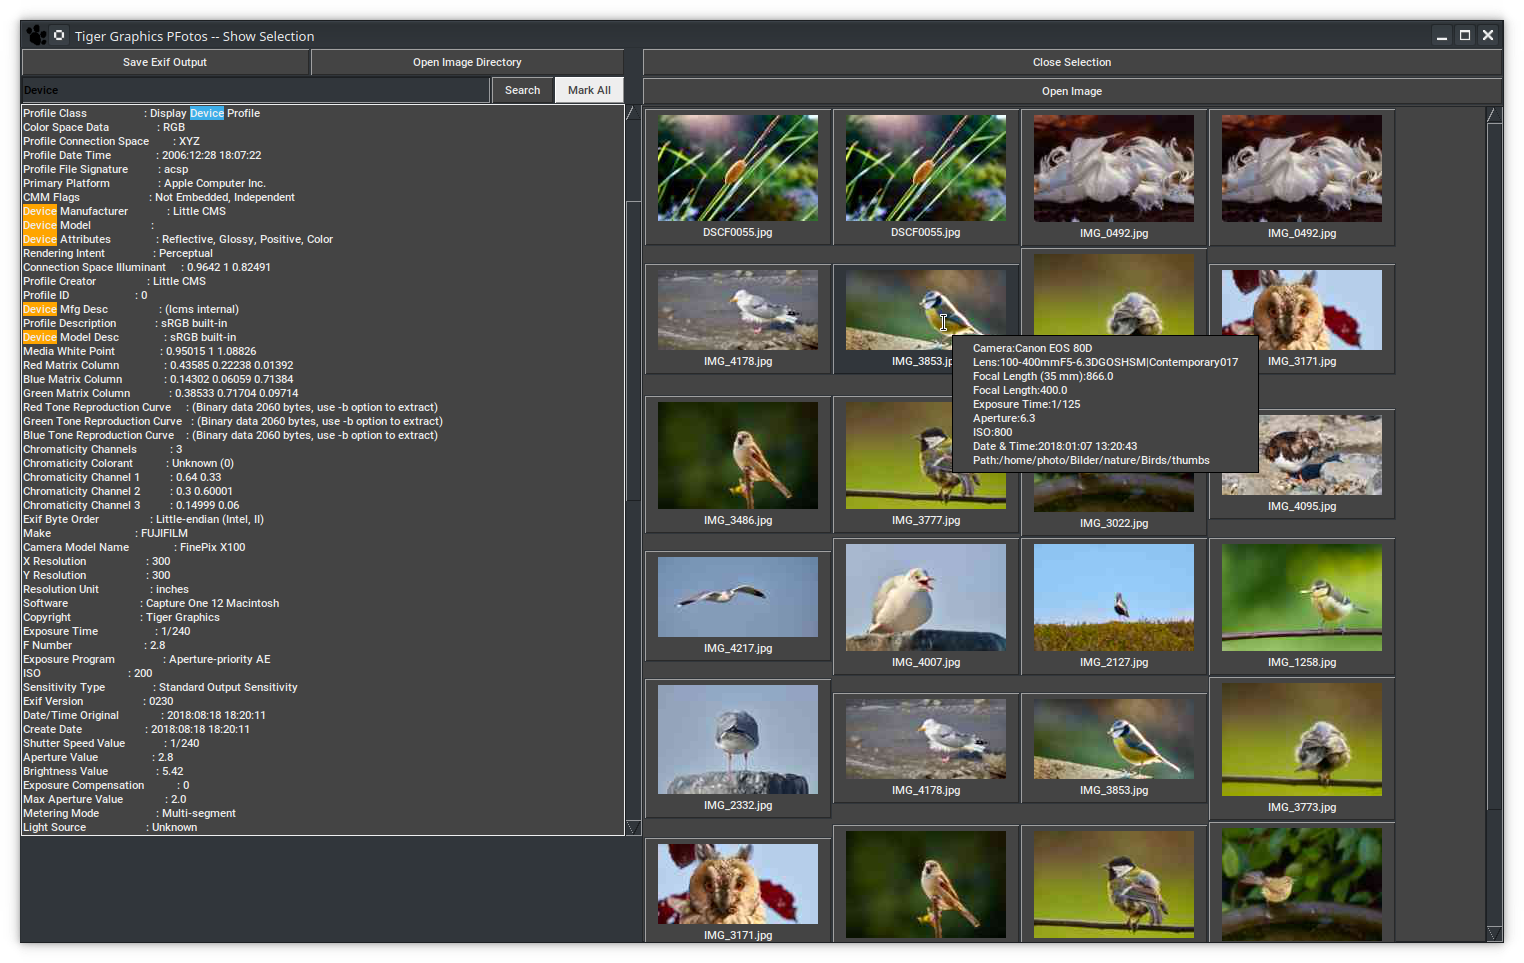
On the right hand side a set of thumbnail buttons for each image in the selection is shown.
This area is scrollable for a larger number of images.
Clicking on one of the these thumbnail buttons results in an update of the left column showing the complete EXIF information provided by the image (this left column is also scrollable). Putting the mouse pointer over a thumbnail image displays the short EXIF information of the image as balloon tool tip.
If the number of selected images exceeds the value given in the preferences tab for Maximum images to show in tiled selection, pressing the button Show Selection opens the new windows in the following form:
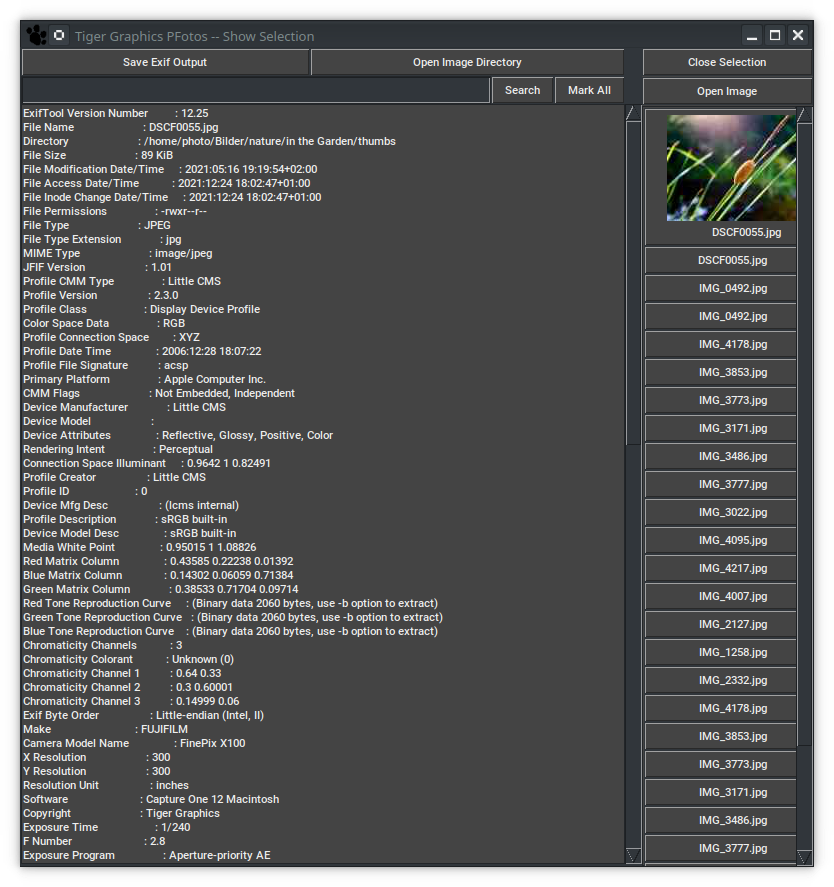 In the right column a set of buttons for the images in the selection is shown. The column is scrollable for a larger number of images.
Clicking one of the these buttons results in an update of the left column showing the complete EXIF information provided by the image (the left column is also scrollable).
Also the thumbnail of the image is shown on the button just being clicked.
6.3 Limitations
Many images in the tiled selection view
Depending on processor speed, available memory and types of selected images the generation of thumbnails may take some minutes also depending of the operation system.
A reasonable value to be set in the preferences tab is 40.
Too many images
If a selection contains more than 10000 images, an error message is displayed and the operation is cancelled.

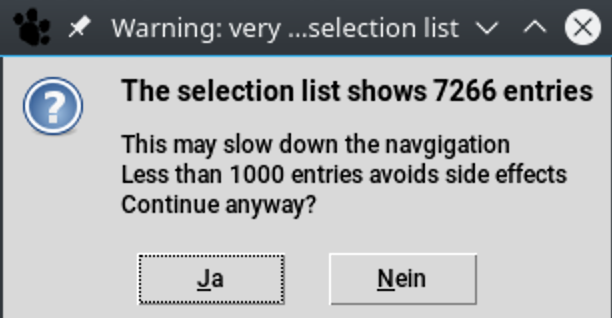
Lots of images
If a selection contains more than 4000 images, a warning message is displayed but the operation may be continued. There is no risk of data corruption, at all.
But some displays (scroll lists, sliders, etc.) may show undefined behaviour.
Empty selection
If a selection is empty, an error message is displayed and the operation is cancelled.
![]()
Image not found
If an original image is stored on a network drive or a removable device which may be unavailable when looking for thumbnail and detailed EXIFs an error message is displayed and buttons which are dependant on the access to the image are disabled.
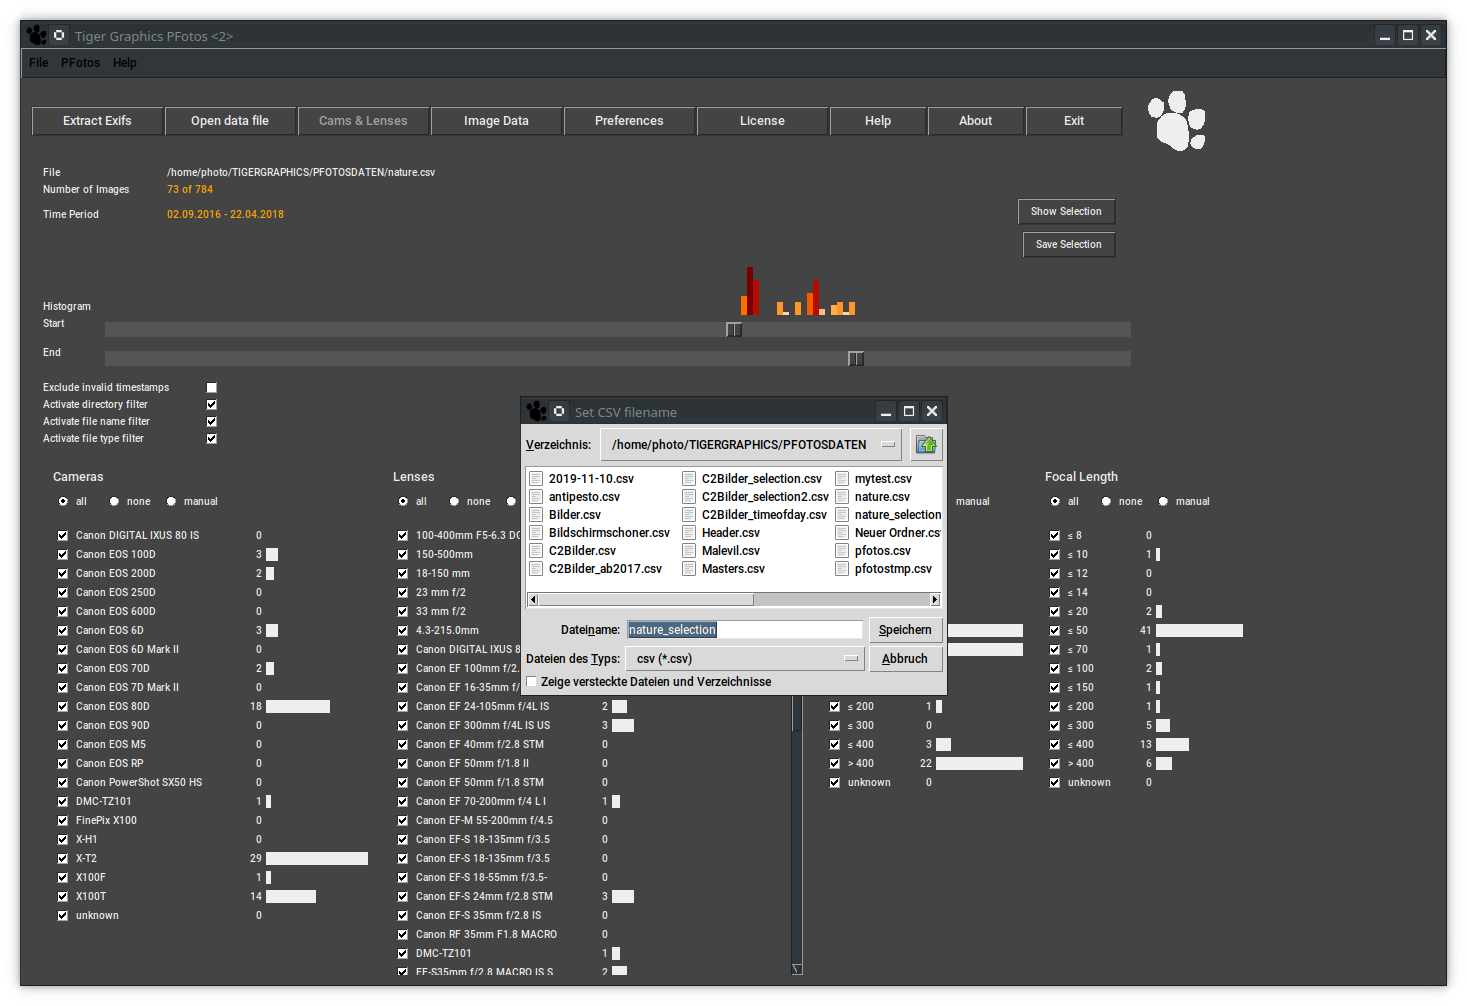
6.4 Save Selection
Pressing the button Save Selection opens a file selection window to save the currently generated selection of images to a PFotos data file for later and special use.
6.5 Integration of an external ExifToolGUI
As soon as and only if in the preferences tab an external ExifToolGUI has been defined a new button Selection->EXIF appears.
The big difference is that the PFotos function Show Selection just displays the Exif information of the images, whilst sending over the selection to the external ExifToolGUI may deliver the original images to a tool that is capable to modify, erase or correct Exif data.
So take care when doing so.
This section shows the integration of the ExifToolGUI1 as a ’containerised’ Application image on Linux. In this case simply the path to the AppImage /home/opt/jExifToolGui-1.20.0-x86_64.AppImage was selected via Select ExifToolGUI.
The same method applies for Microsoft Windows.
When trying so on MacOS , we cannot come to the solution by the Select ExifToolGUI button, because the navigation of the file selector does not let us select the application which is jExifToolGUI.app in the Applications directory. In this case we need to enter the complete path to the execuable jexiftoolgui which finds at /Applications/jExifToolGUI.app/Contents/MacOS/jexiftoolgui for the here presented ExifToolGUI.
