Photo Subjects
In this section, the settings for the most important photo subjects are described.
People
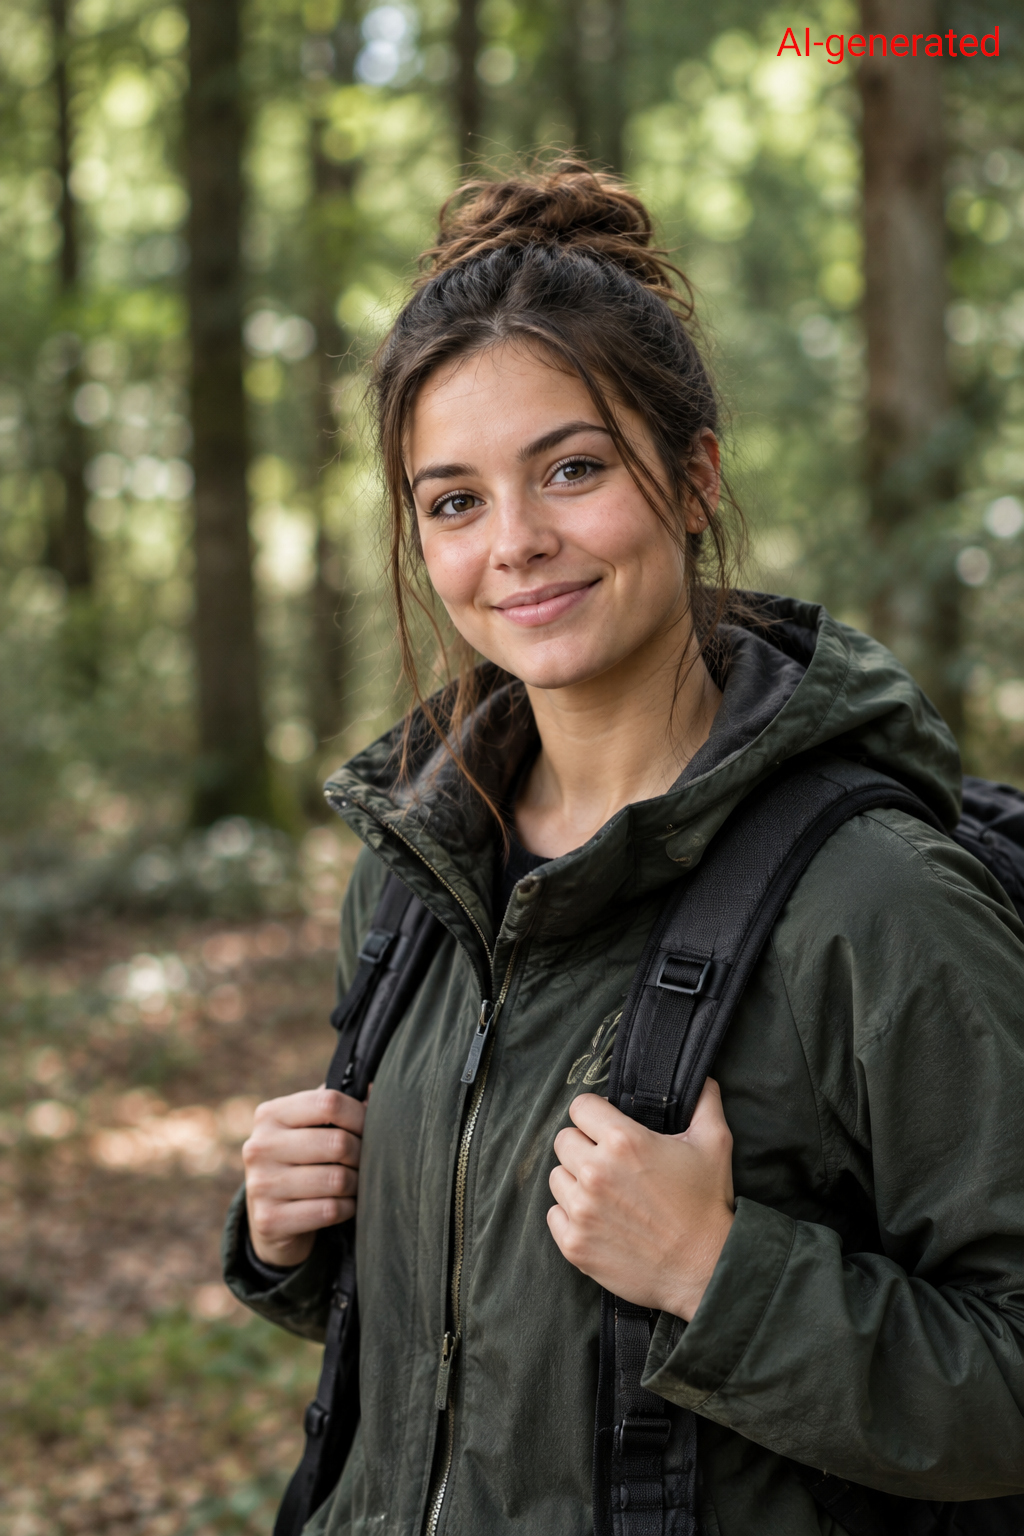
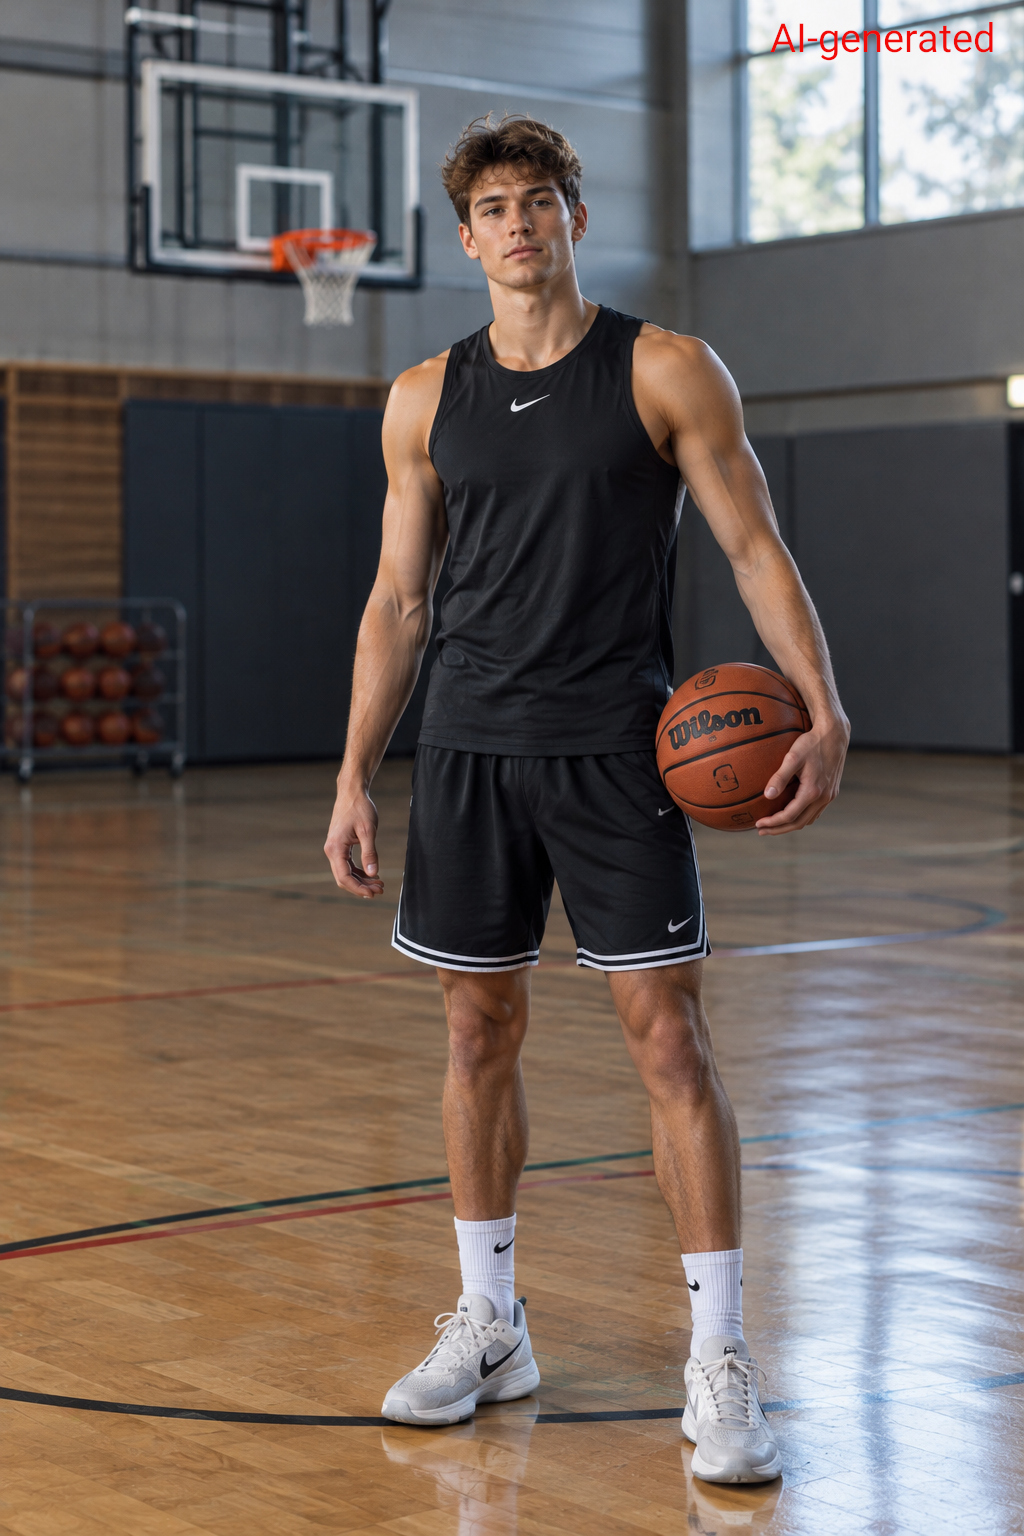
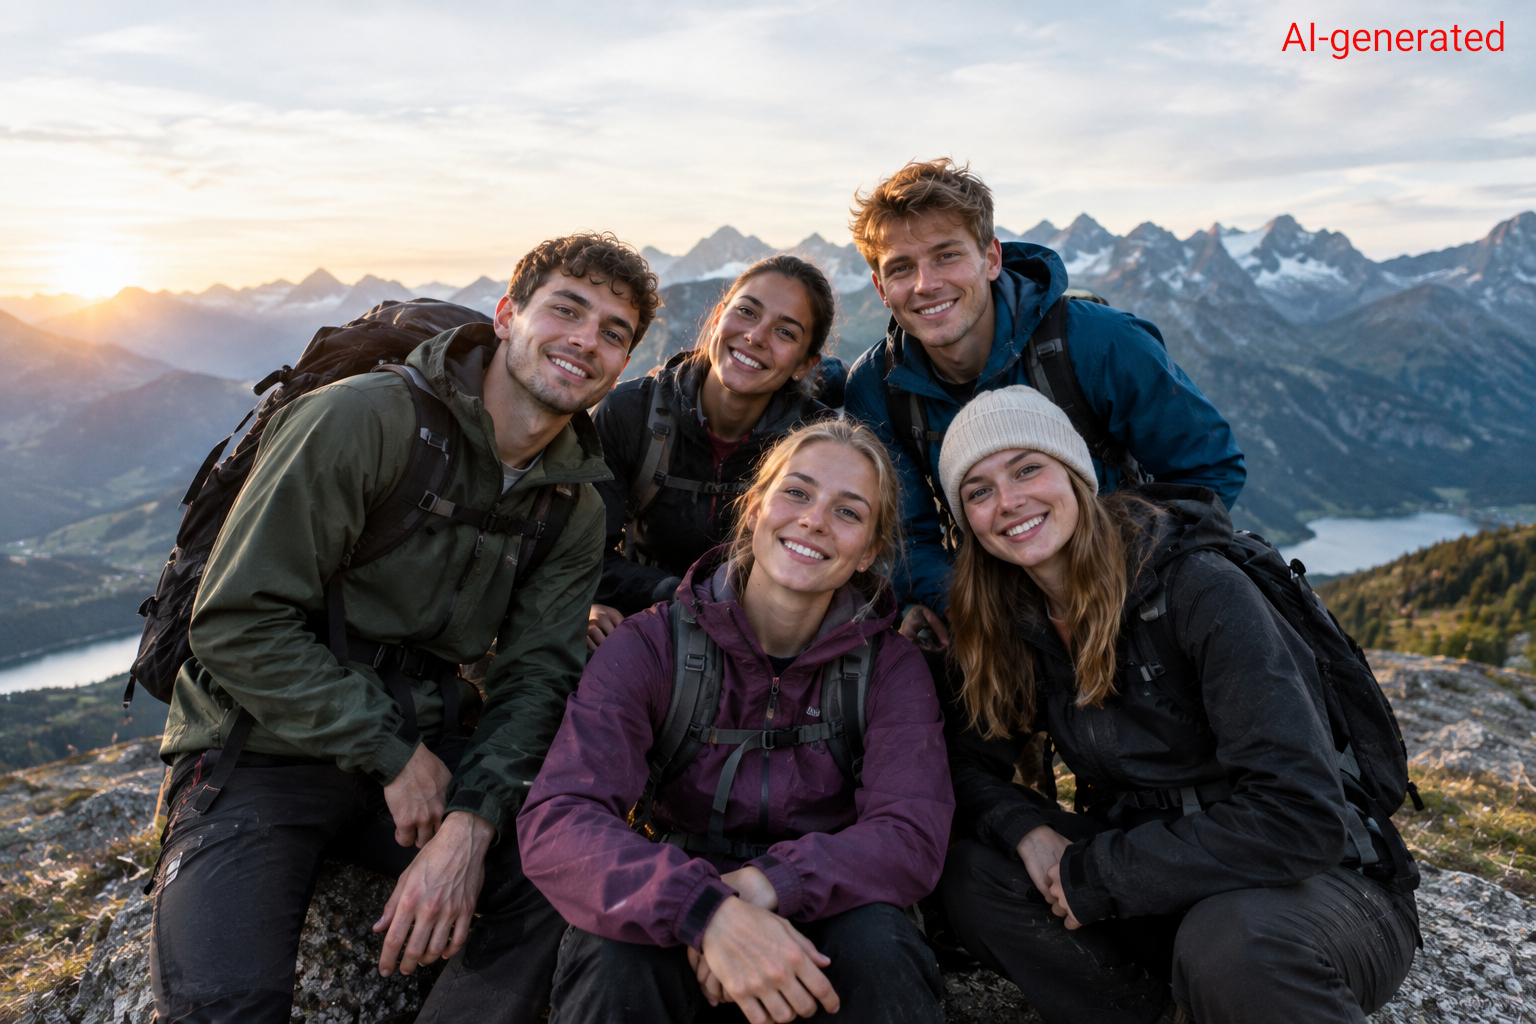
You should only take photos of people if they agree to it. Therefore, AI-generated images serve as examples here to avoid violating personal rights and to prevent providing “training food” for AI models.
Portraits
In portrait photography, only the head and a portion of the upper body are captured.
Settings:
- Open the aperture wide (low f-number) to make the background appear blurry.
- Set the shutter speed so that the image is sharp. If the person keeps still, approx. 1/60 s; if not, preferably 1/125 s or shorter.
- Use Auto-ISO.
- If shooting in Av or Tv mode, set the metering mode to center-weighted metering.
- Focus on one eye using a single autofocus point. If the camera has eye autofocus, use it and activate continuous autofocus.
- It is better not to use a flash; instead, light the person well so that no harsh shadows are created on the face.
- If a flash is necessary, use red-eye reduction if available, or even better, use one or more off-camera flashes and set them to slow sync.
- Depending on the goal of the shot, get the person to smile. This should not look forced.
- Use the continuous shooting mode and choose the best image later.
Saying the famous word “Cheese” is actually not that beneficial, as it usually causes the person to have sharper wrinkles around the corners of the mouth. It is better to have the person say “Money.”
Full-Body Shots
The same rules apply here as for portraits. Care should be taken not to cut off the feet. Shots that end below the knees look unflattering.
Groups
With group shots, you have to assume that someone is fidgeting or just closing their eyes. Also, not everyone in a group stands exactly in the focal plane.
Settings:
- Medium to long focal length (35 mm - 80 mm).
- Close the aperture (f/5.6 - f/8).
- Set the shutter speed shorter than 1/100 s and adjust the ISO accordingly.
- If shooting in Av or Tv mode, set the metering mode to evaluative/matrix metering.
- It is ideal to shoot outdoors under an overcast sky. In direct sunlight, the cast shadows become too harsh, so you should find a slightly shaded spot.
- Have people huddle together so that there are no gaps between them and every face is clearly visible.
- Do not cut off the feet.
- Watch out that there are no ugly objects like trash cans in the background.
- Get the people to smile.
- Use the continuous shooting mode and choose an image afterward where everyone has their eyes open.
- Take additional shots when the session is actually already over.
Animals
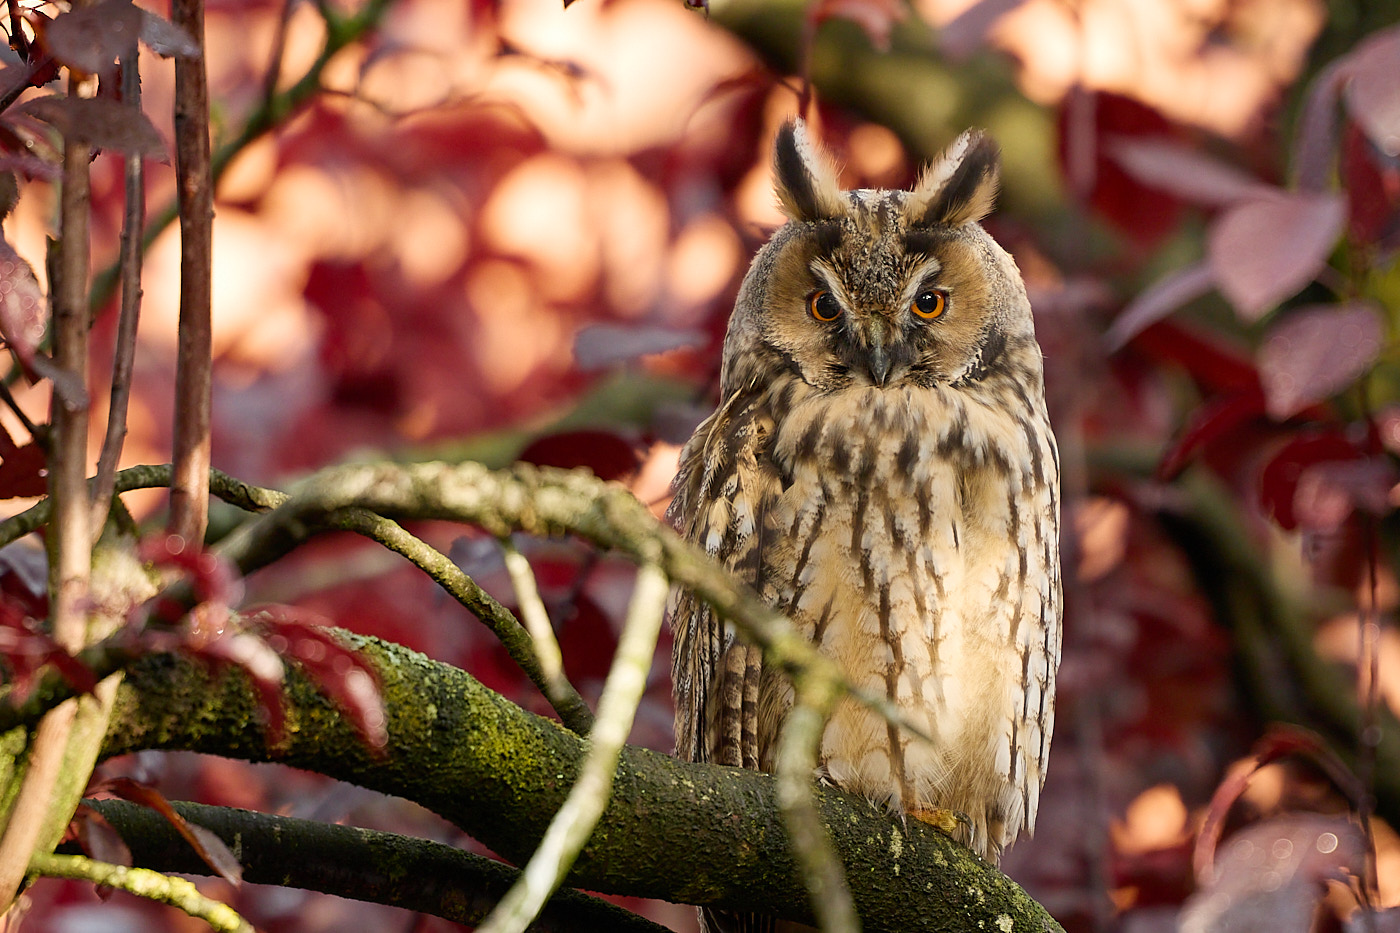
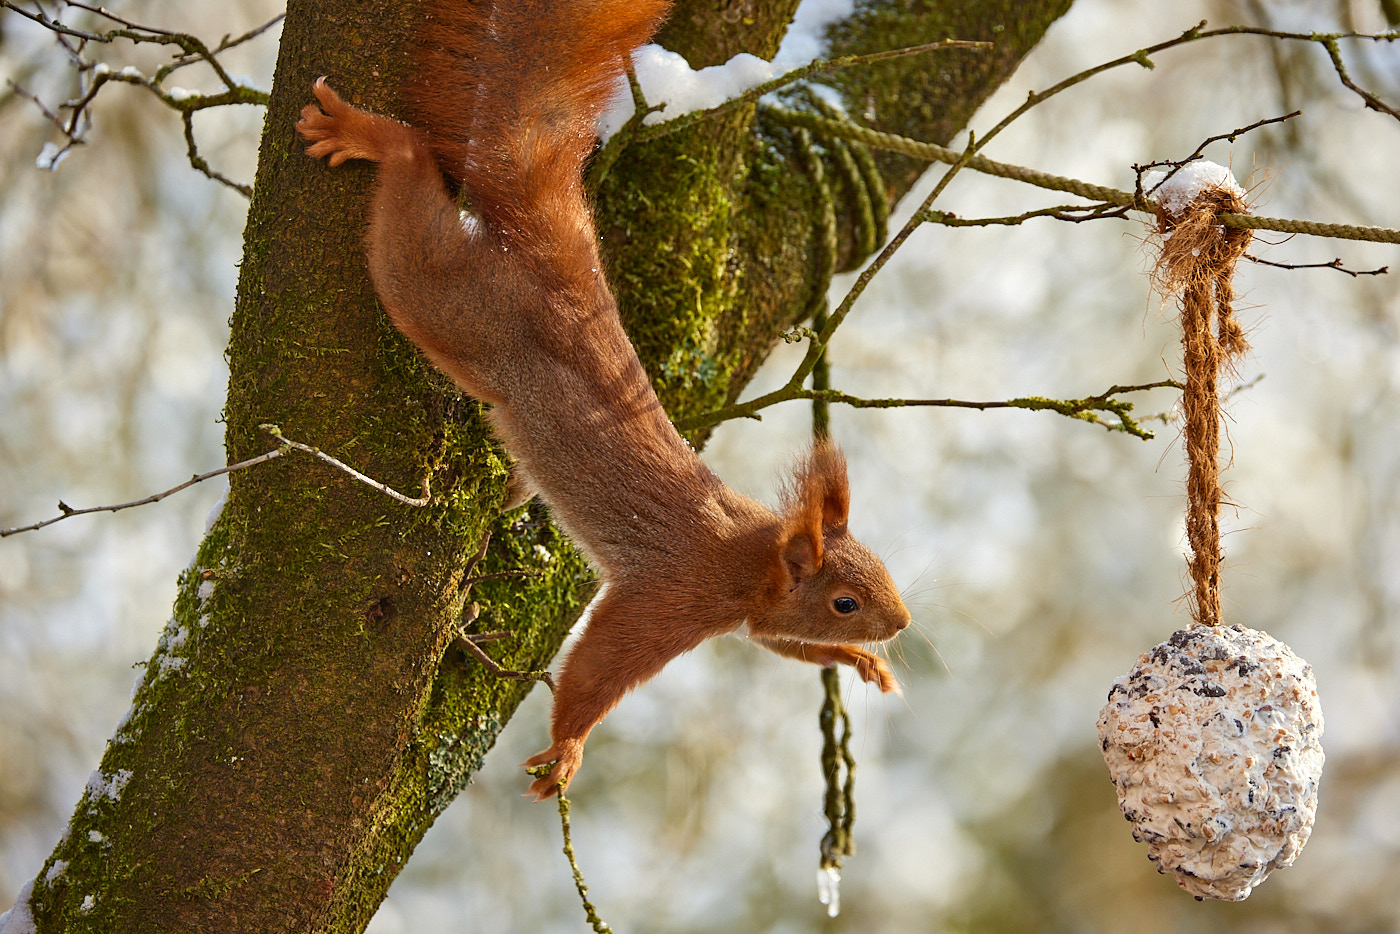
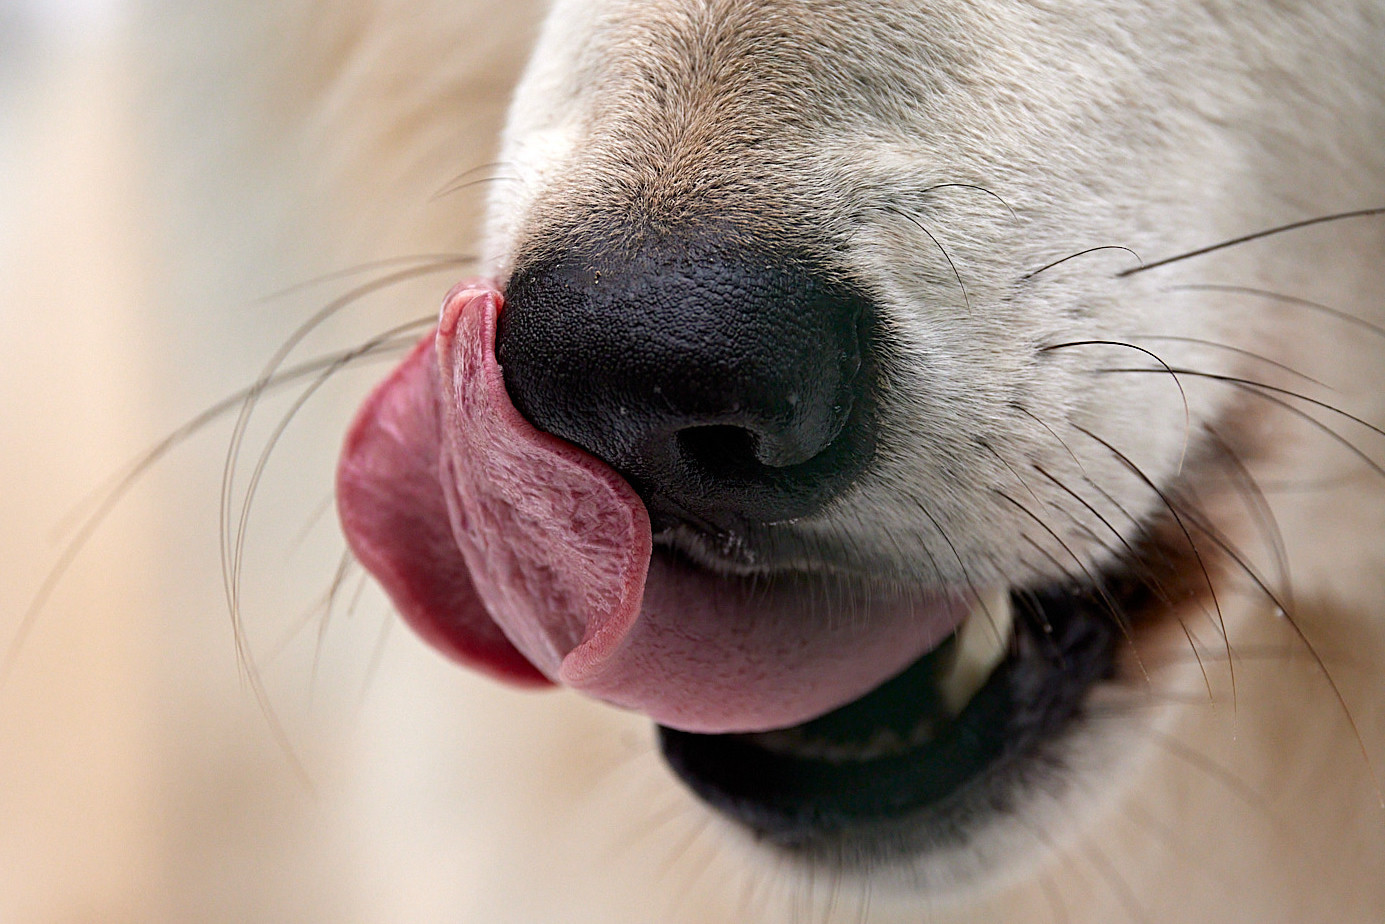
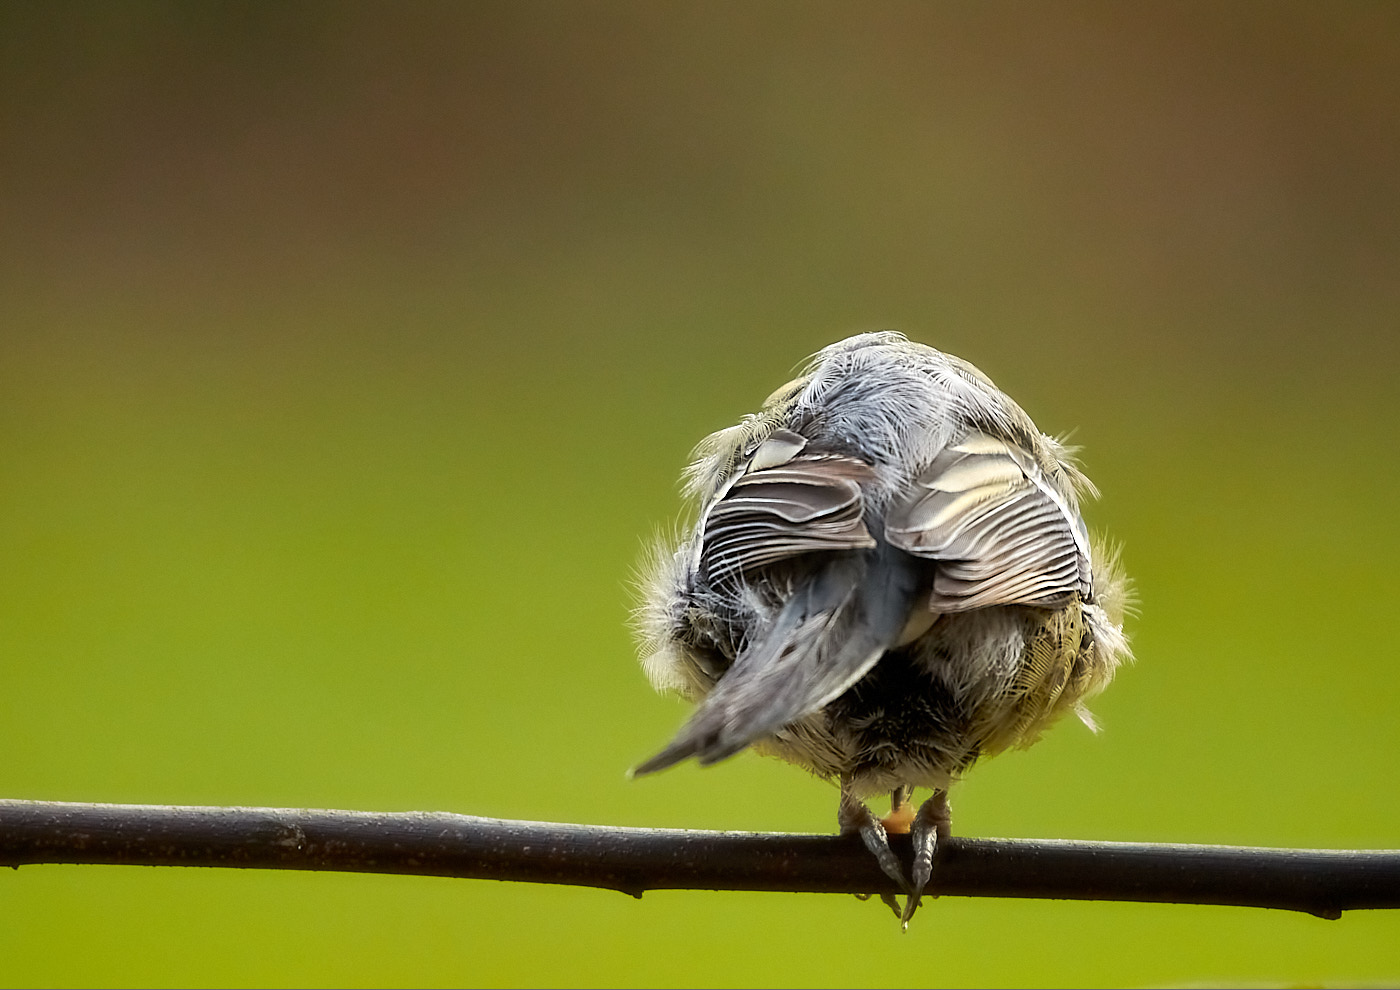
Photographing animals can be quite exhausting. You need to have patience and know how to operate your camera well to get those great shots you see in magazines and on the internet. Behind all these shots lies a lot of practice and usually hundreds of failed attempts. As a beginner, you can start by photographing your own pets, dogs and cats from the neighborhood, or by visiting a zoo.
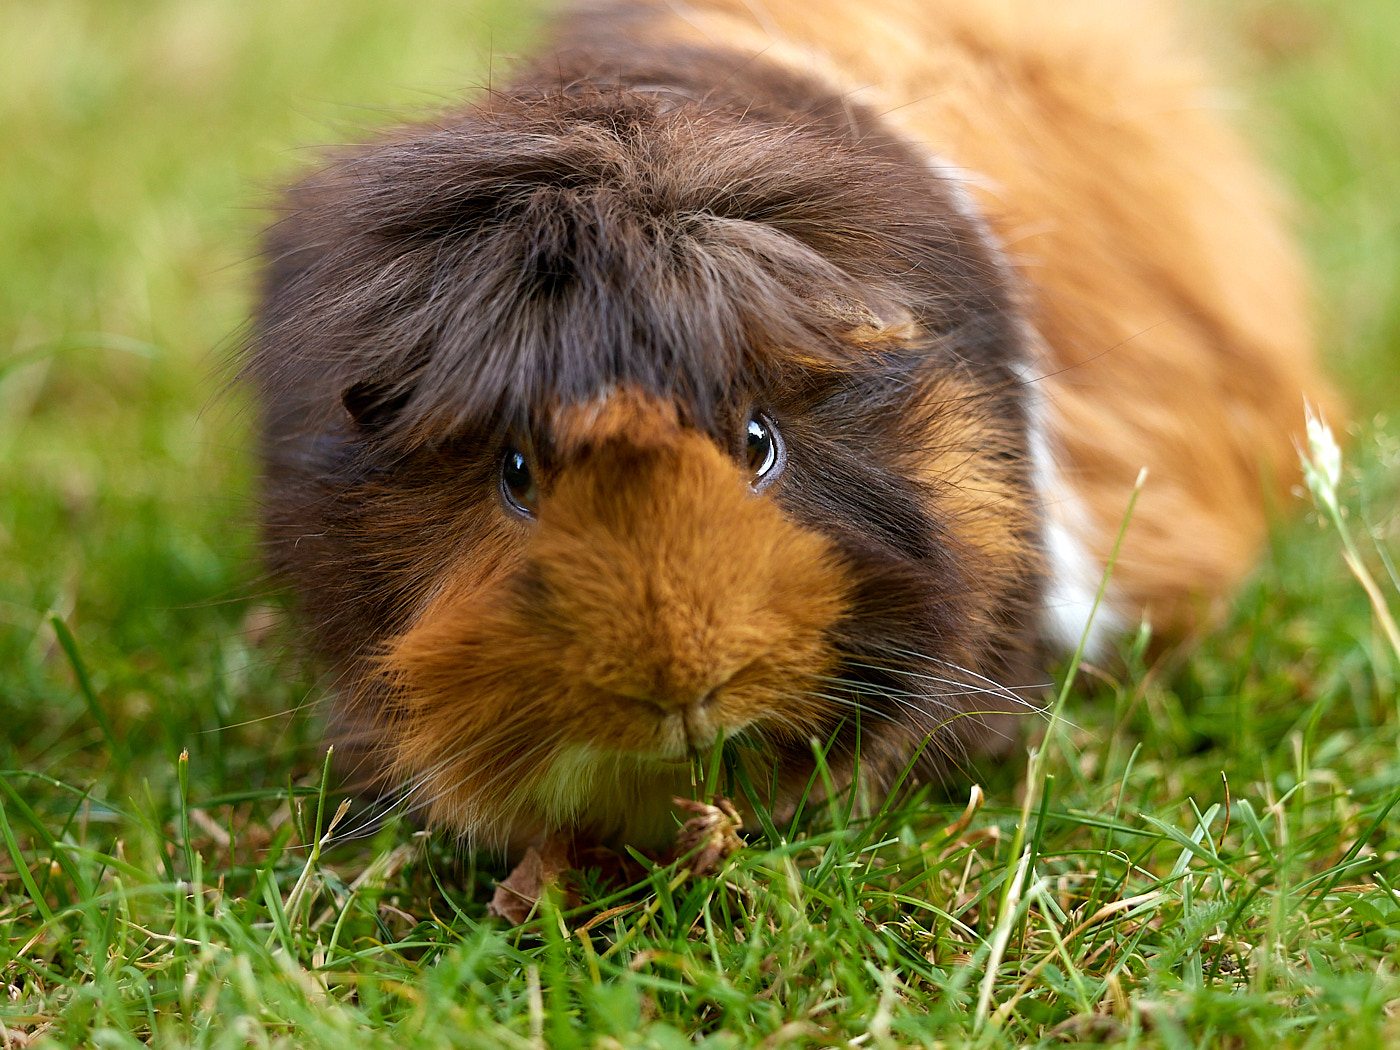
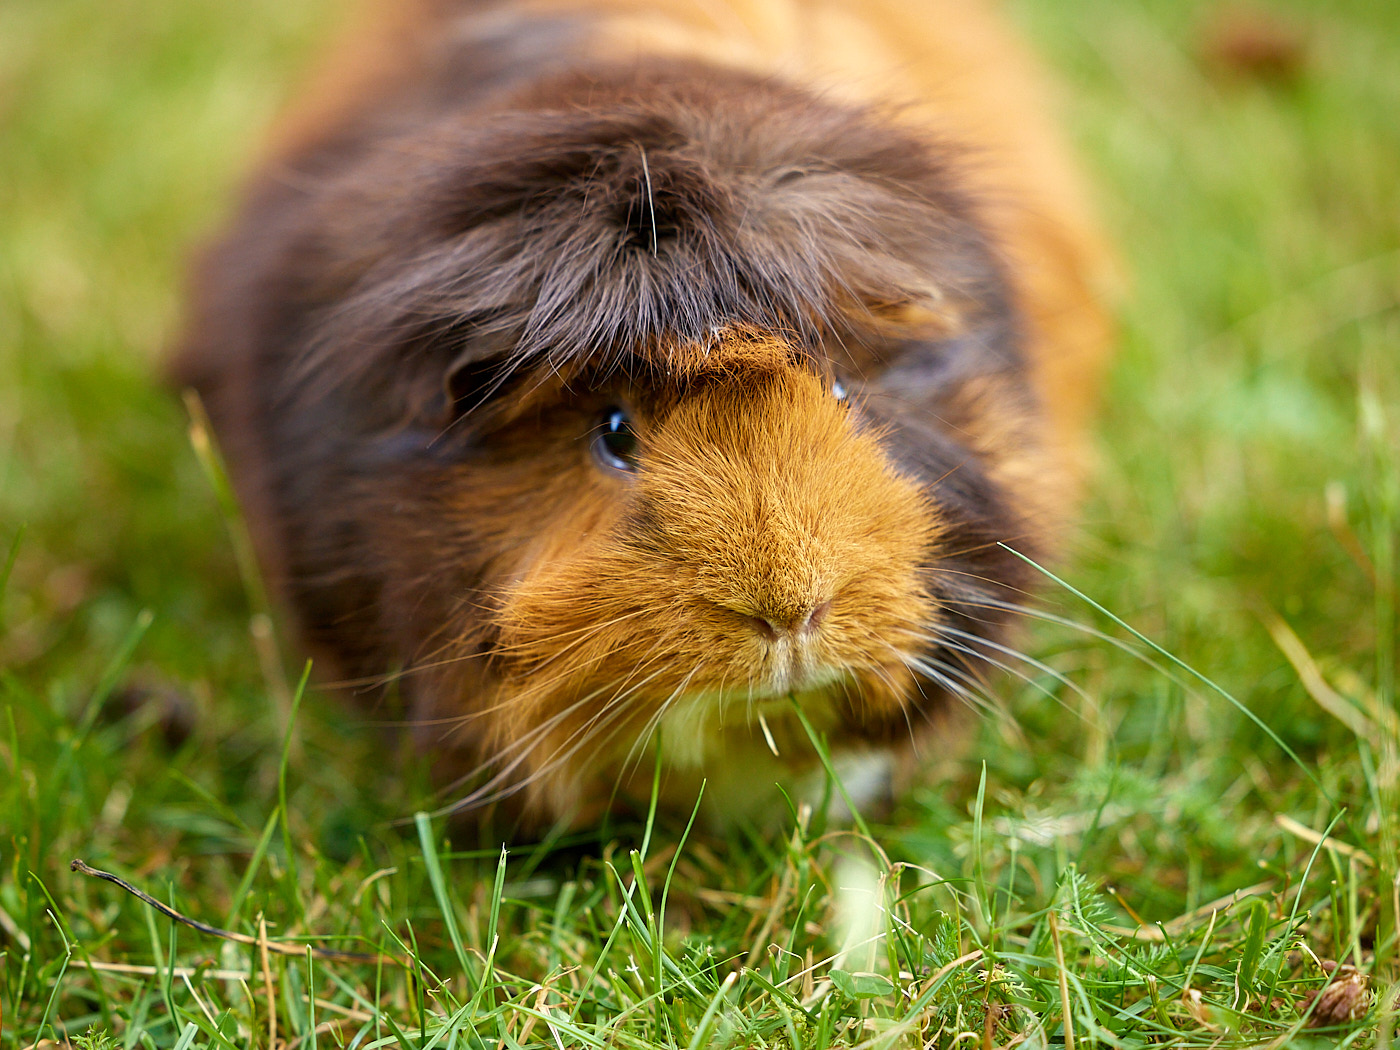
To stand out from the usual pictures, close-ups—images where you capture details from very close up—are great. Especially at the zoo, you can capture details using a telephoto lens. If you get very close to the fence and photograph through a gap in the mesh, you won’t even see the fence. Whenever possible, photograph animals at eye level and wait until the animal looks into the camera.
Settings:
- Long focal length (telephoto lens).
- Wide open aperture to make the background blur.
- Short shutter speed; the faster the animal, the shorter the shutter speed.
- Animal eye autofocus, if available.
- Metering mode: center-weighted or evaluative/matrix.
- Auto-ISO
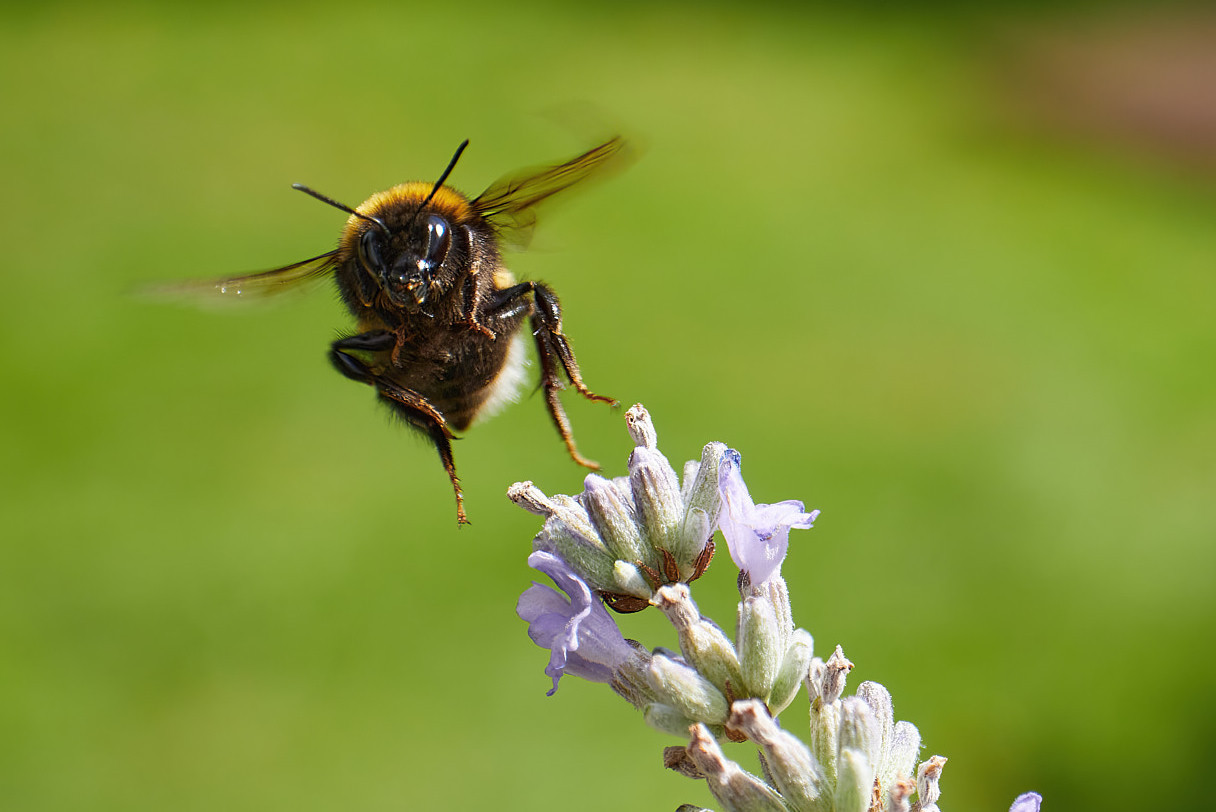
Landscapes
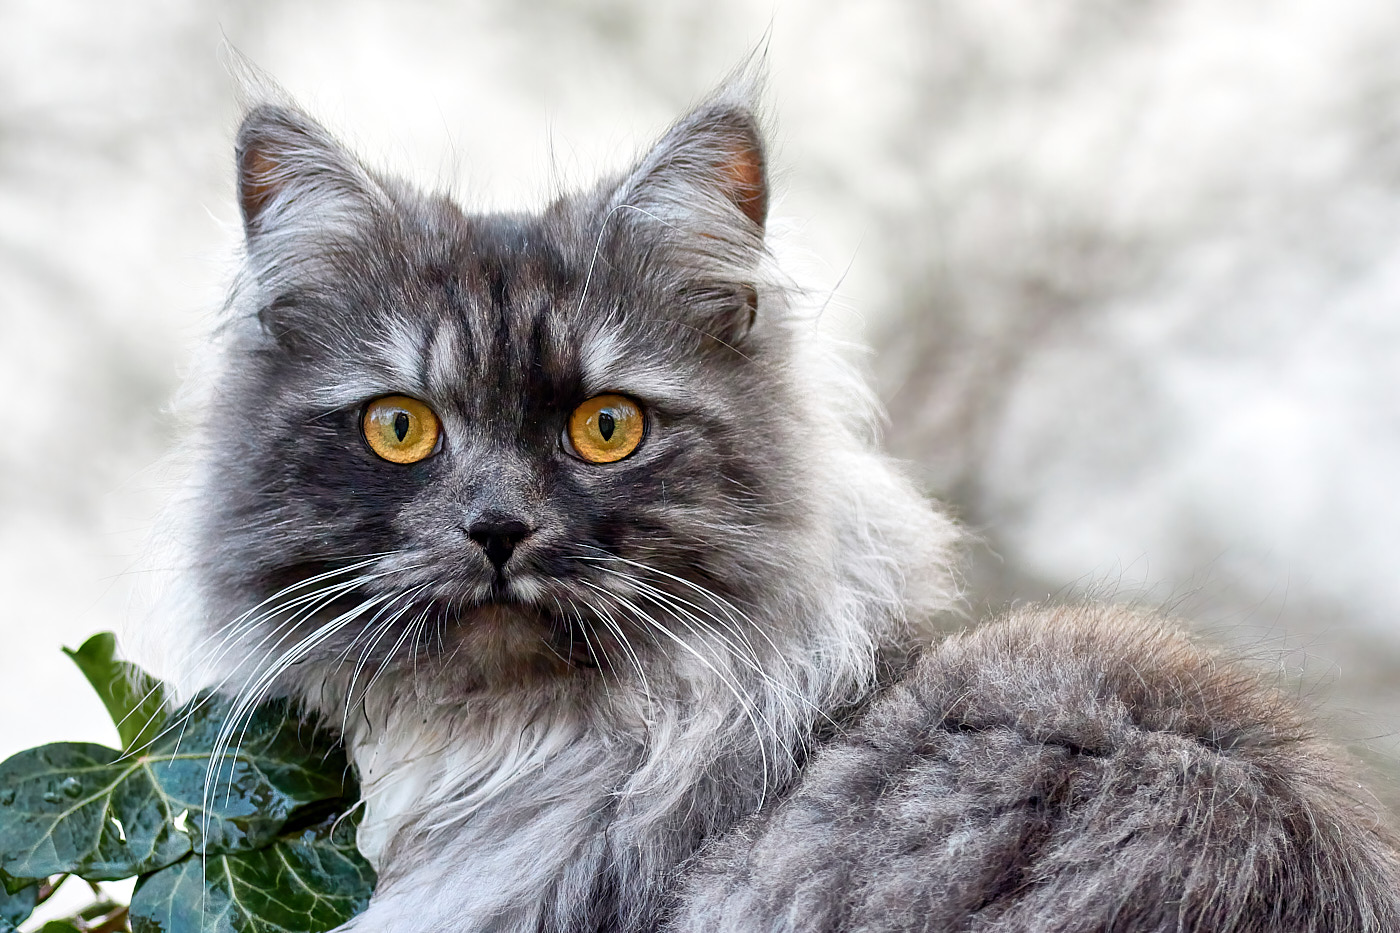
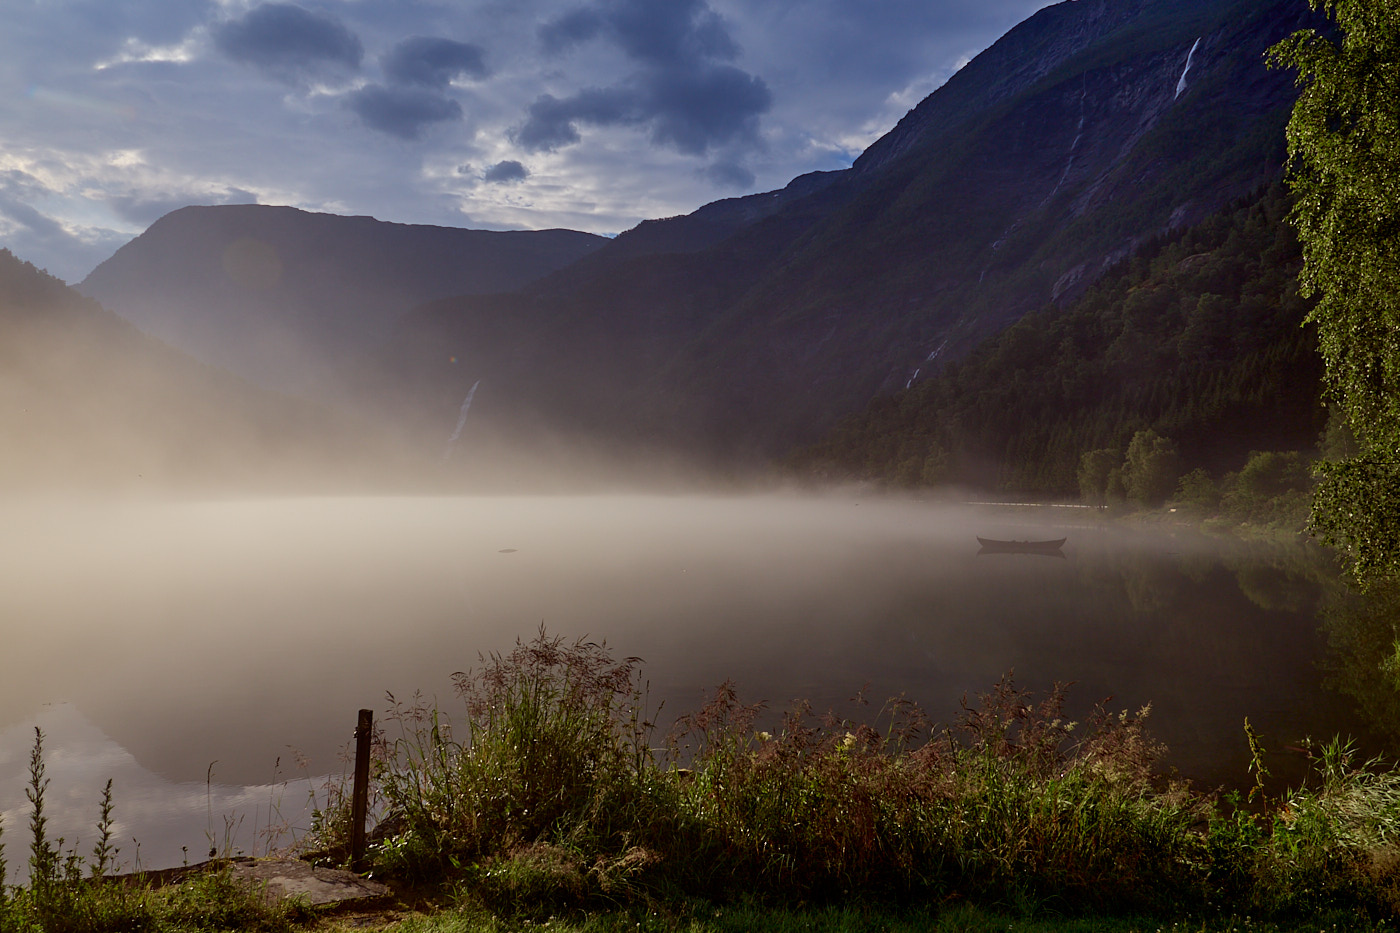
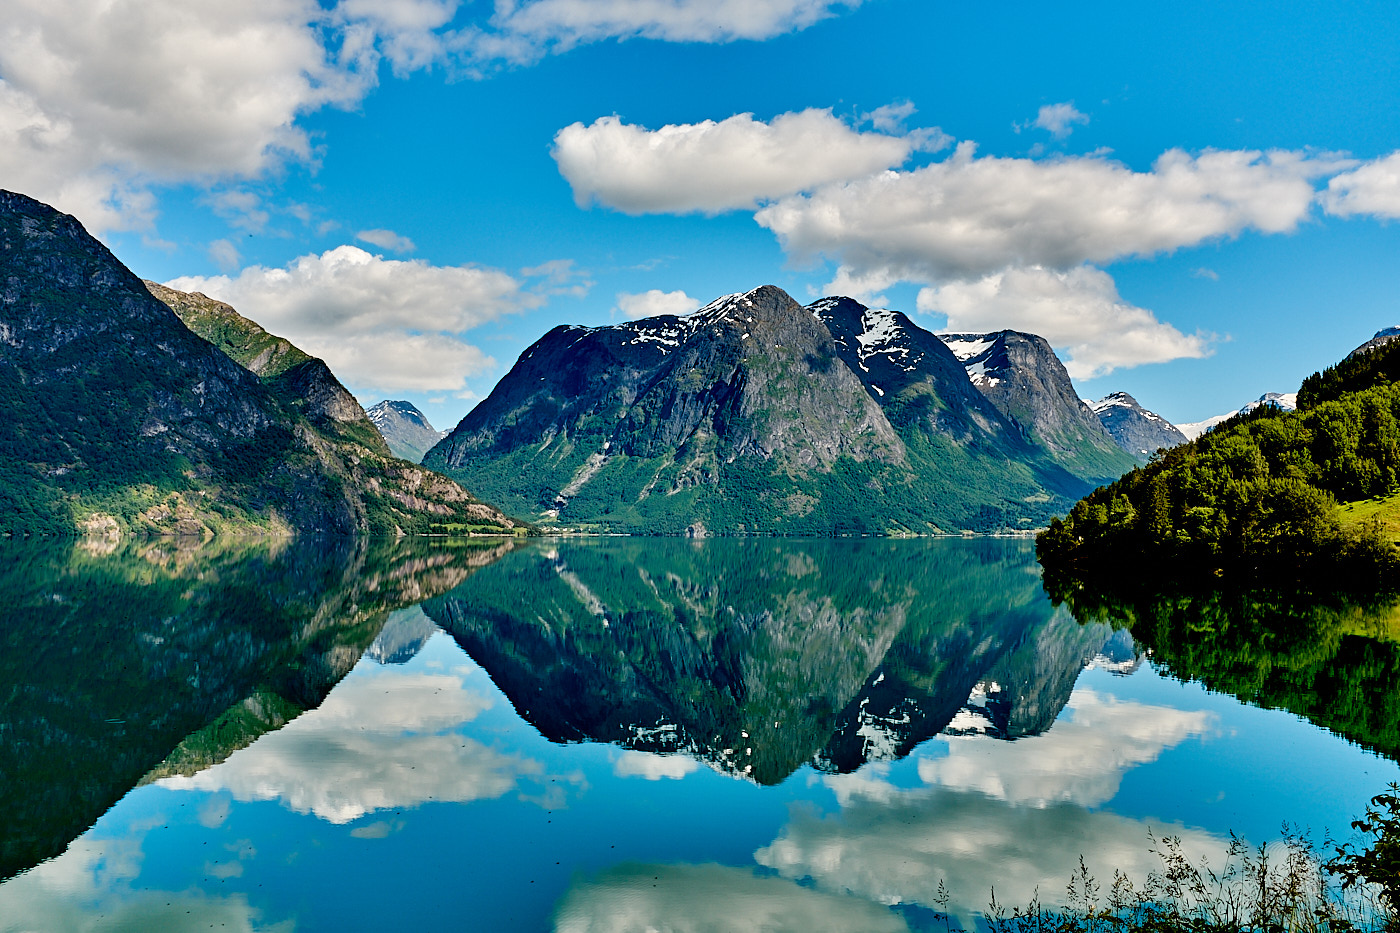
In landscape photography, pay attention to the light. Shooting against the light can create flares and makes it harder for the camera to control the exposure automatically. Landscape shots become particularly impressive early in the morning shortly after sunrise or during the so-called blue hour, just before sunset. Furthermore, you should make sure that the camera is held level. Some cameras have a built-in electronic level for this purpose. Even better for landscape photography is mounting the camera on a tripod, focusing manually, and using the self-timer to prevent any camera shake.
Settings:
- A short focal length (wide-angle lens)
- Small aperture (f/8 - f/13) to render the entire scene sharp
- Low ISO (100 - 200)
- Shutter speed adjusted so that the image is well-exposed
- Metering mode: evaluative/matrix
Nature
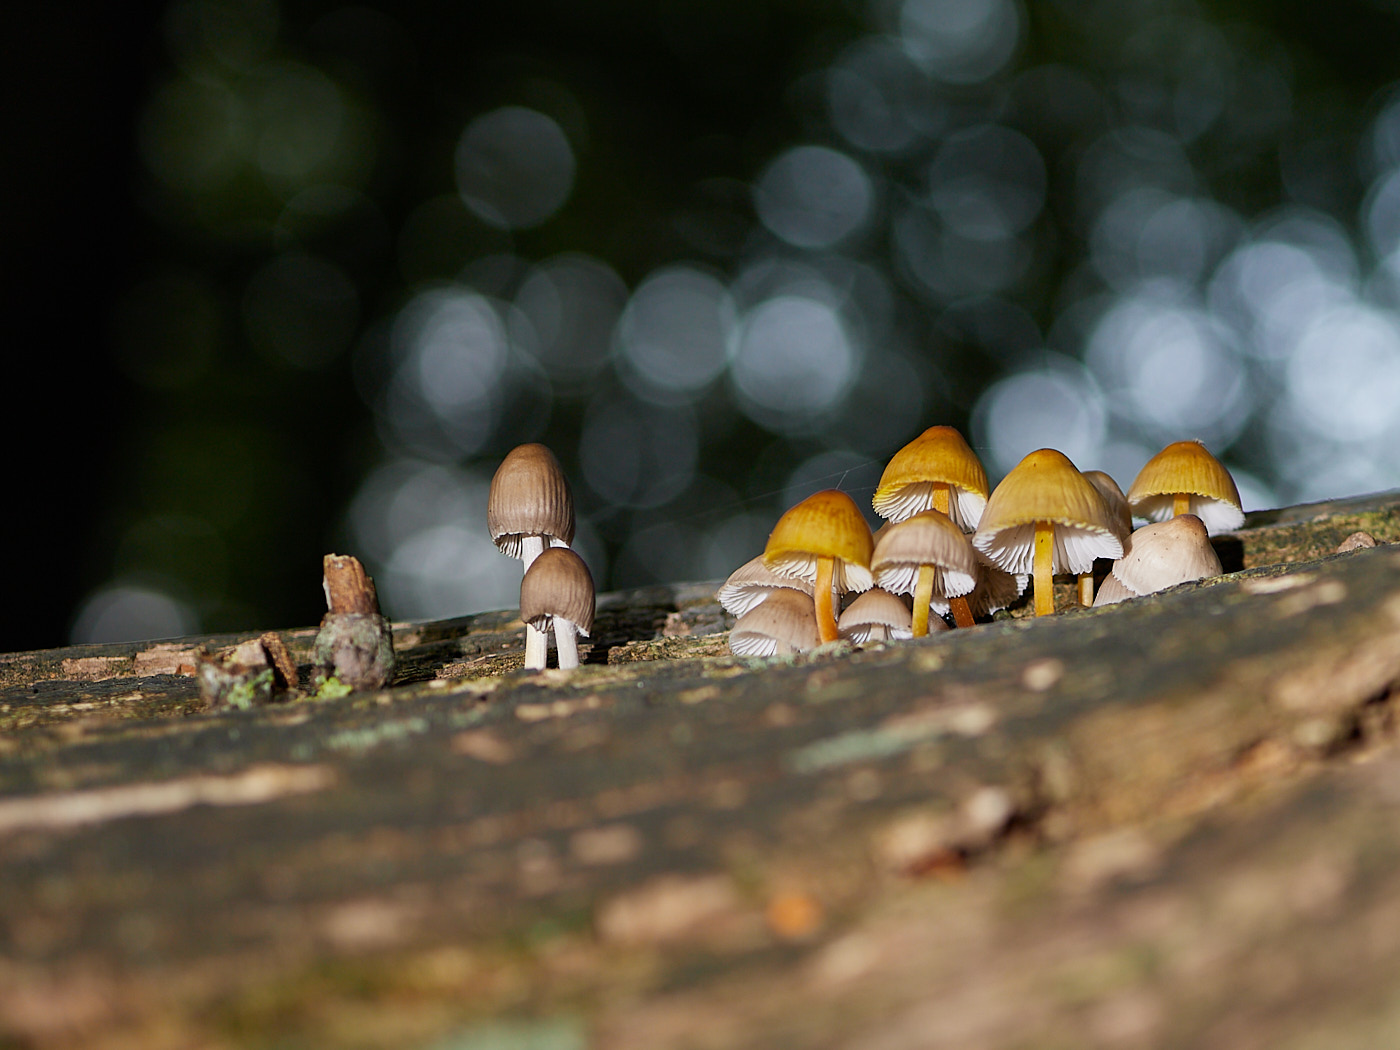
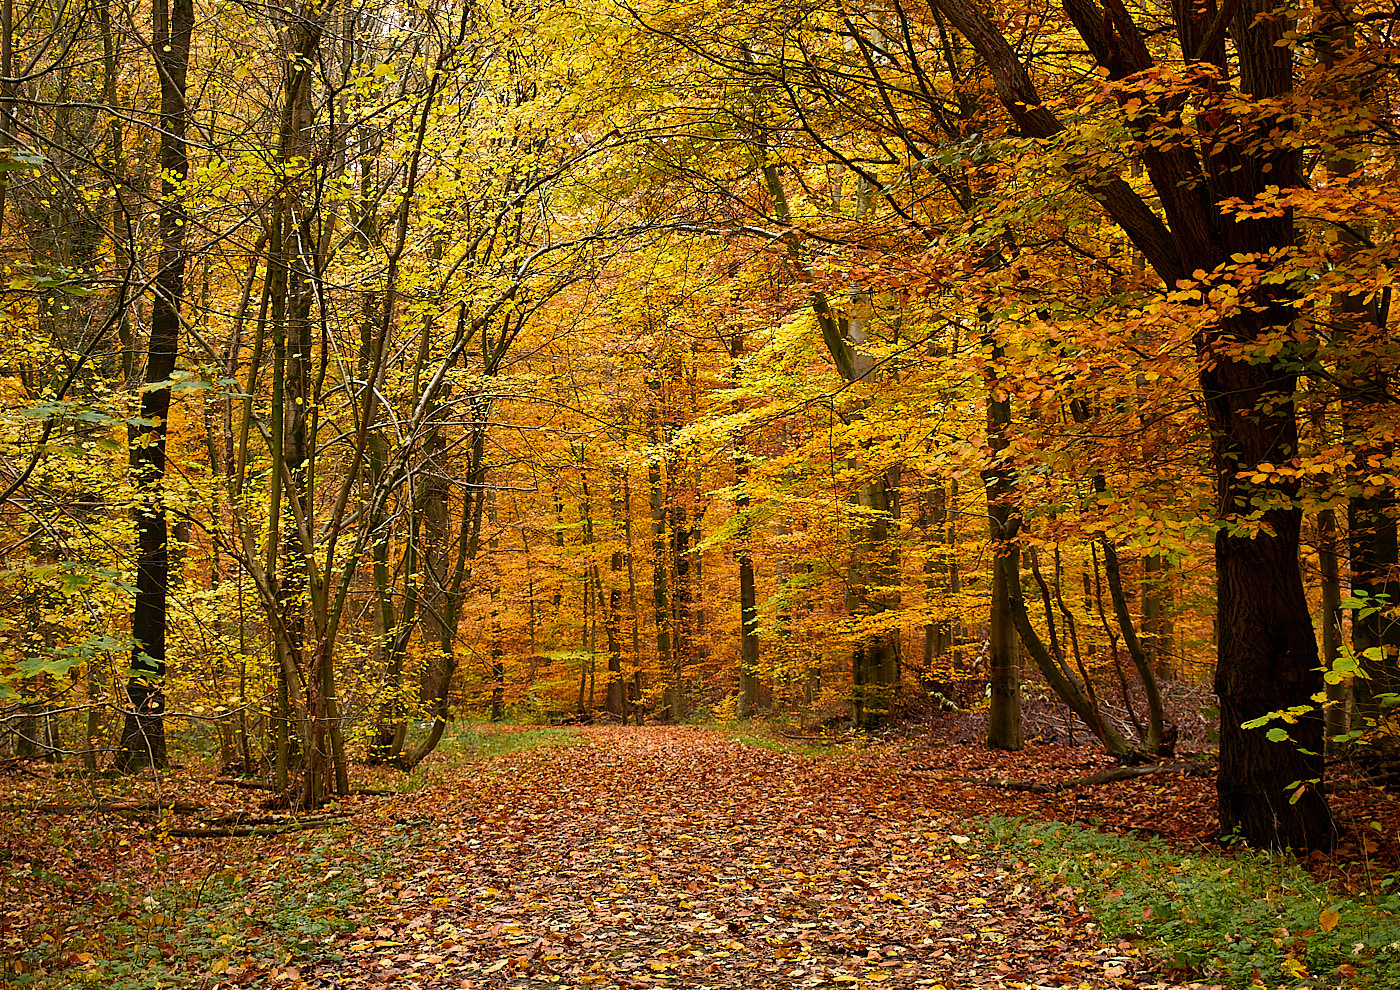
Nature photography ranges from the smallest blossoms to entire landscapes. Therefore, the settings heavily depend on the subject.
Buildings
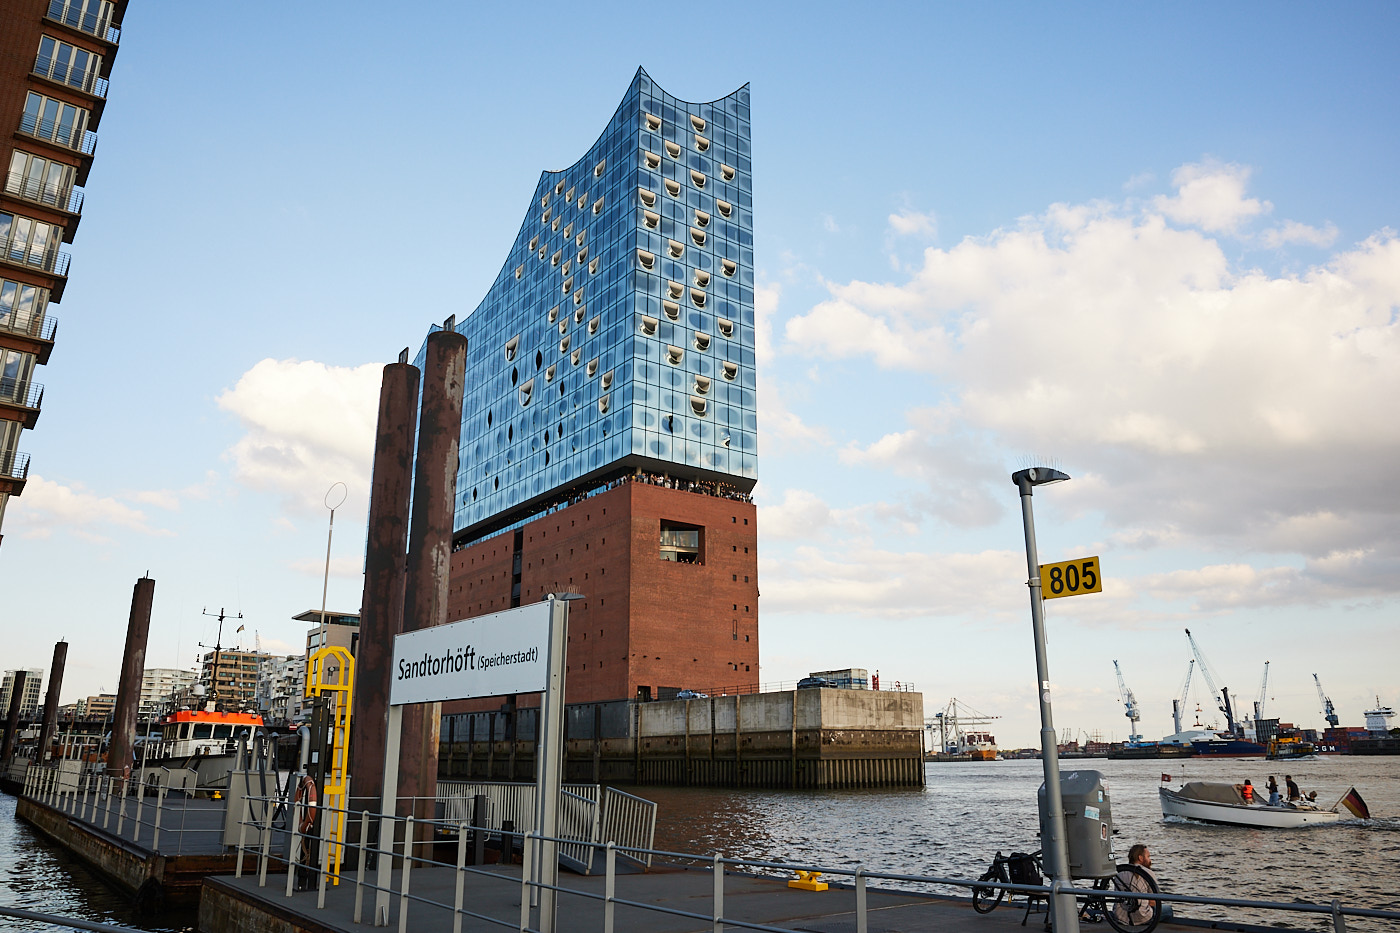
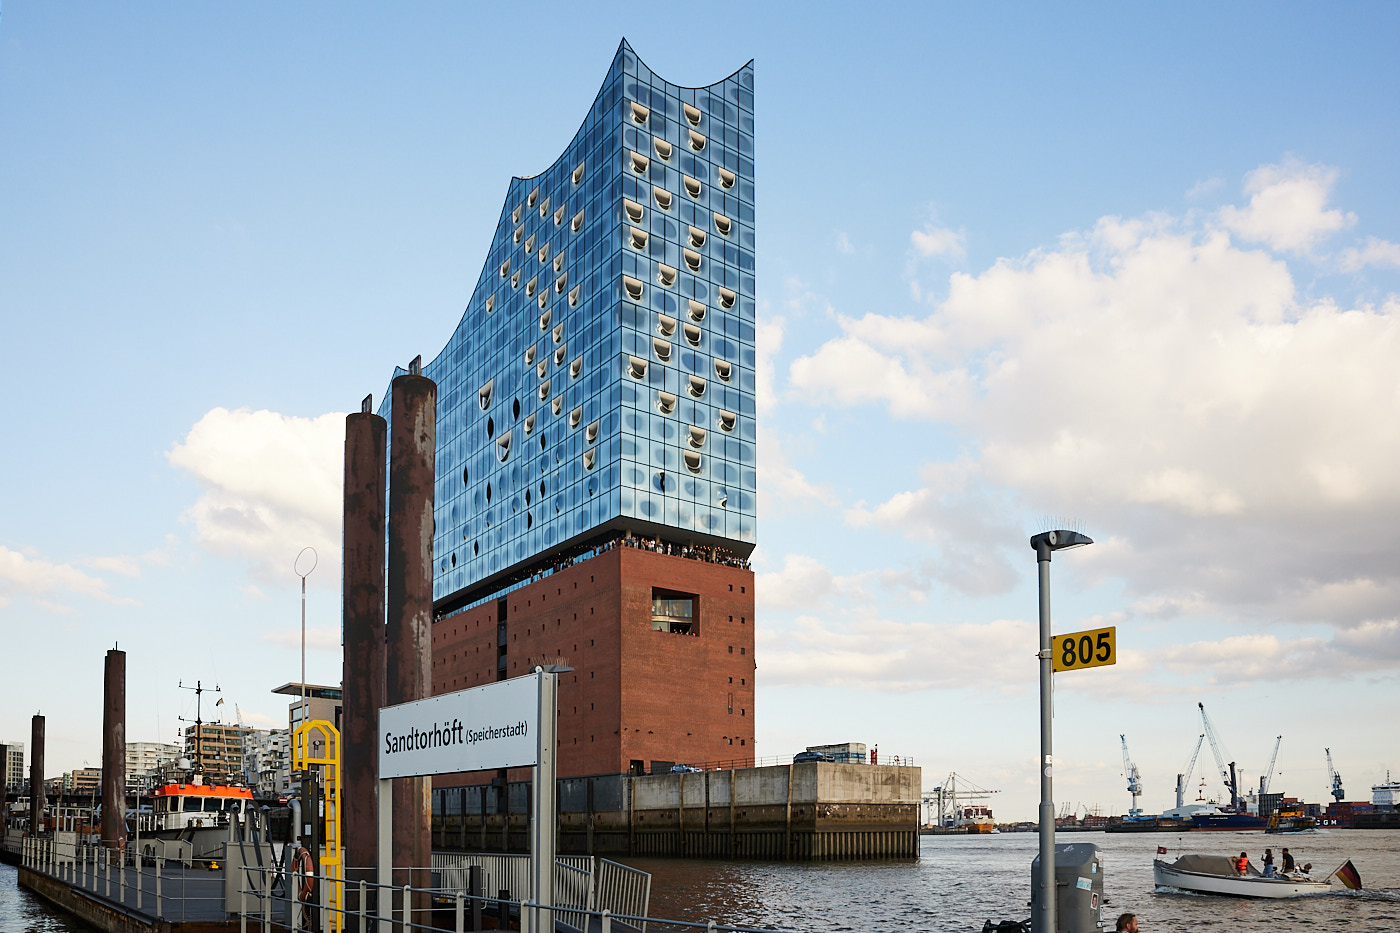
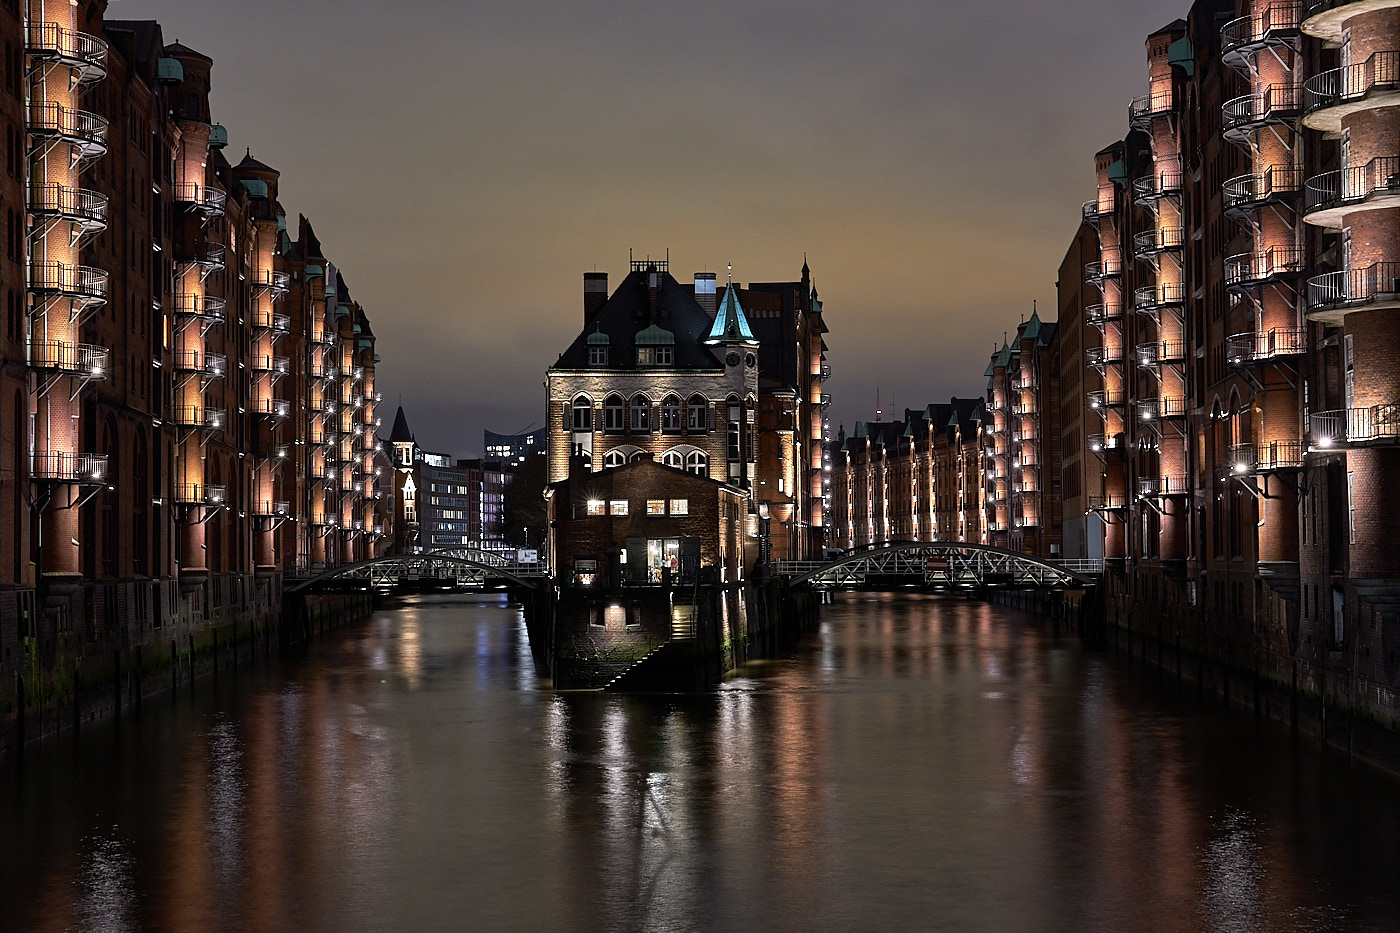
It is best to photograph buildings from further away. If you stand too close to the building, you have to tilt the camera too much, which distorts the perspective and causes converging lines to occur. If you cannot move further away, subsequent correction via software helps. Alternatively, you can use a tilt-shift lens, which is, however, very expensive. If you photograph buildings in poor lighting conditions, a tripod is useful to keep the ISO and thus image noise low.
Settings:
- Focal length depending on the distance
- Small aperture to achieve the highest possible sharpness
- Low ISO to preserve all structures
- Adjust shutter speed accordingly
- Metering mode: evaluative/matrix
Food
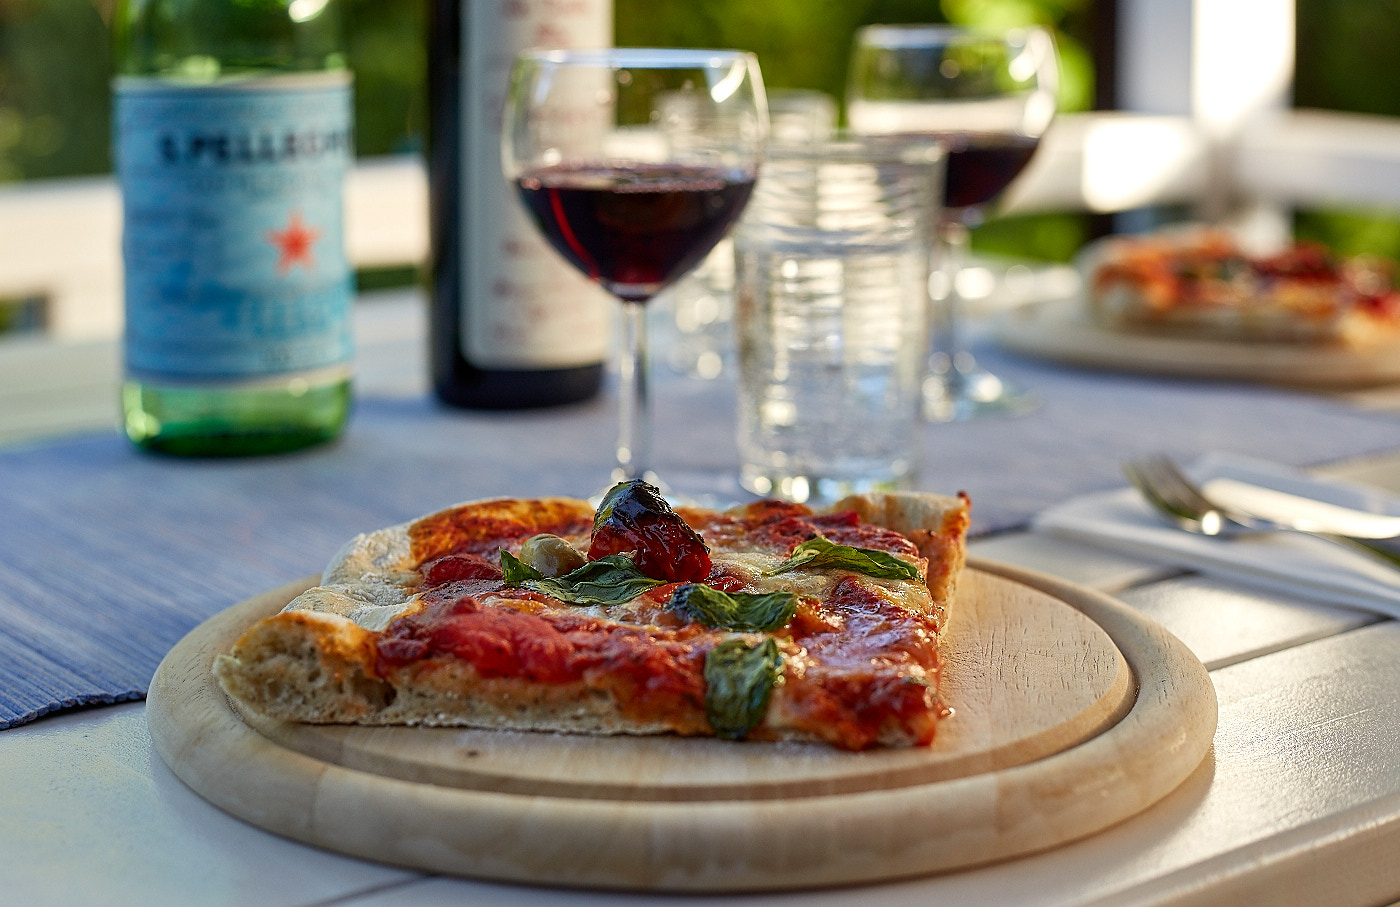
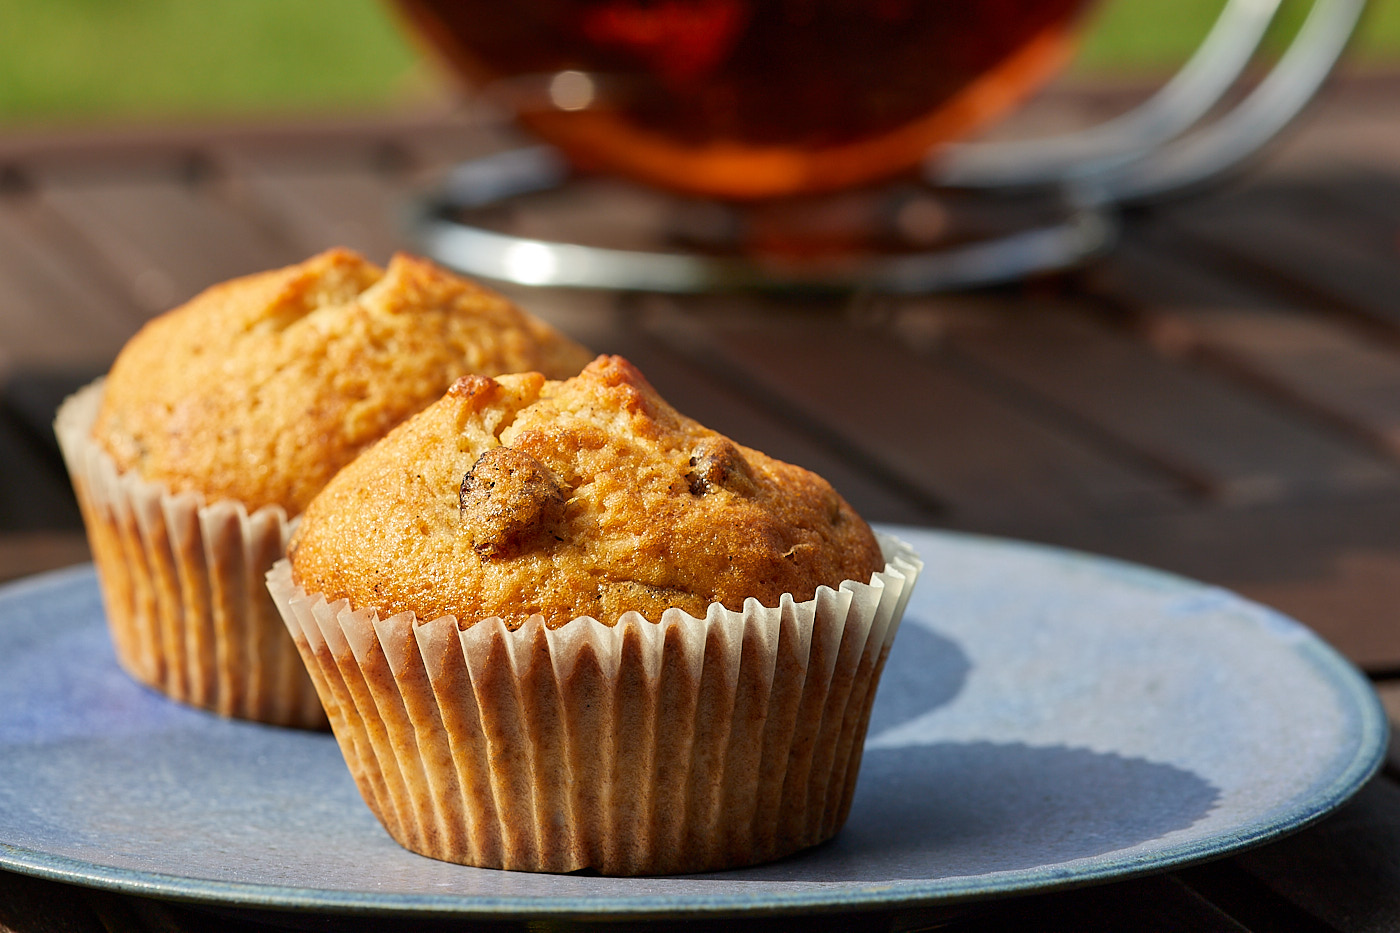
In food photography, depth of field and light are particularly important. The focus should be set so that the “food” is sharply rendered and the background becomes slightly blurry. It is nice when the scenery in the background can still be guessed. Natural daylight is particularly well-suited for food photography because it reproduces colors most naturally. Care should be taken that no direct sunlight falls on the scene to avoid harsh cast shadows. If daylight is not available, daylight lamps are better suited than flashes, as you can evaluate and adjust the lighting better beforehand.
Camera settings that are well-suited:
- Medium to small aperture, depending on the focal length, subject size, and desired background blur
- Shutter speed for handheld shooting approx. 1/60 s and Auto-ISO
- If a tripod is used, use the lowest ISO and adjust the shutter speed accordingly
- Metering mode: evaluative/matrix or center-weighted
Vehicles
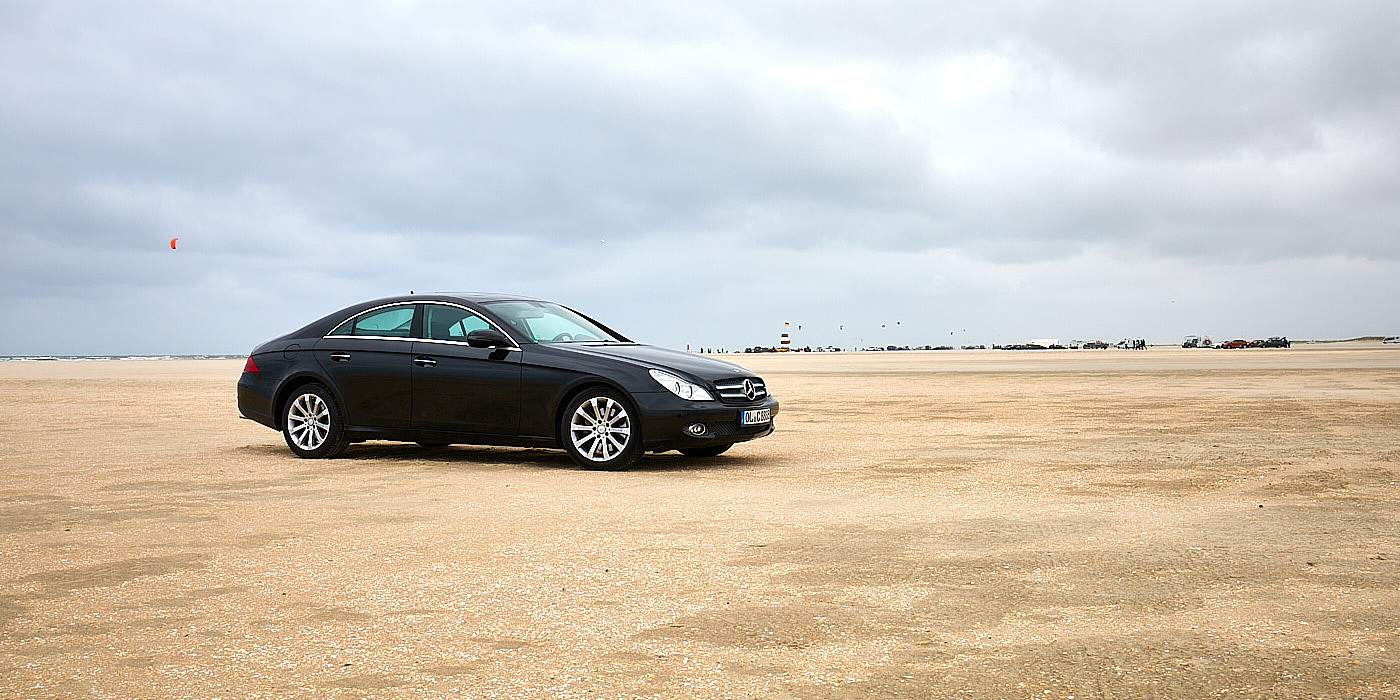
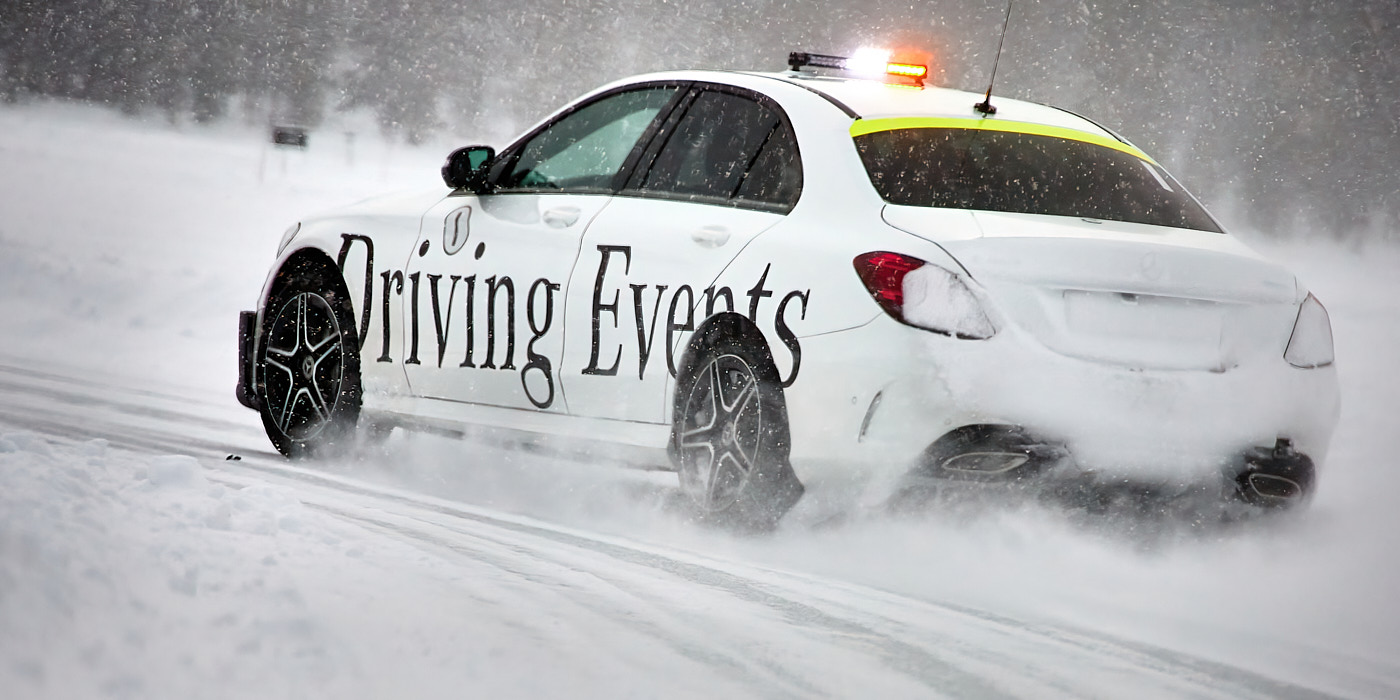
Vehicle photography ranges from toy cars to rockets with the entire spectrum of settings. As an example, only the photography of cars is treated here. Even then, the spectrum ranges from close-ups of details to stationary and moving vehicles, classic cars, race cars, all the way to shots taken from moving cars.
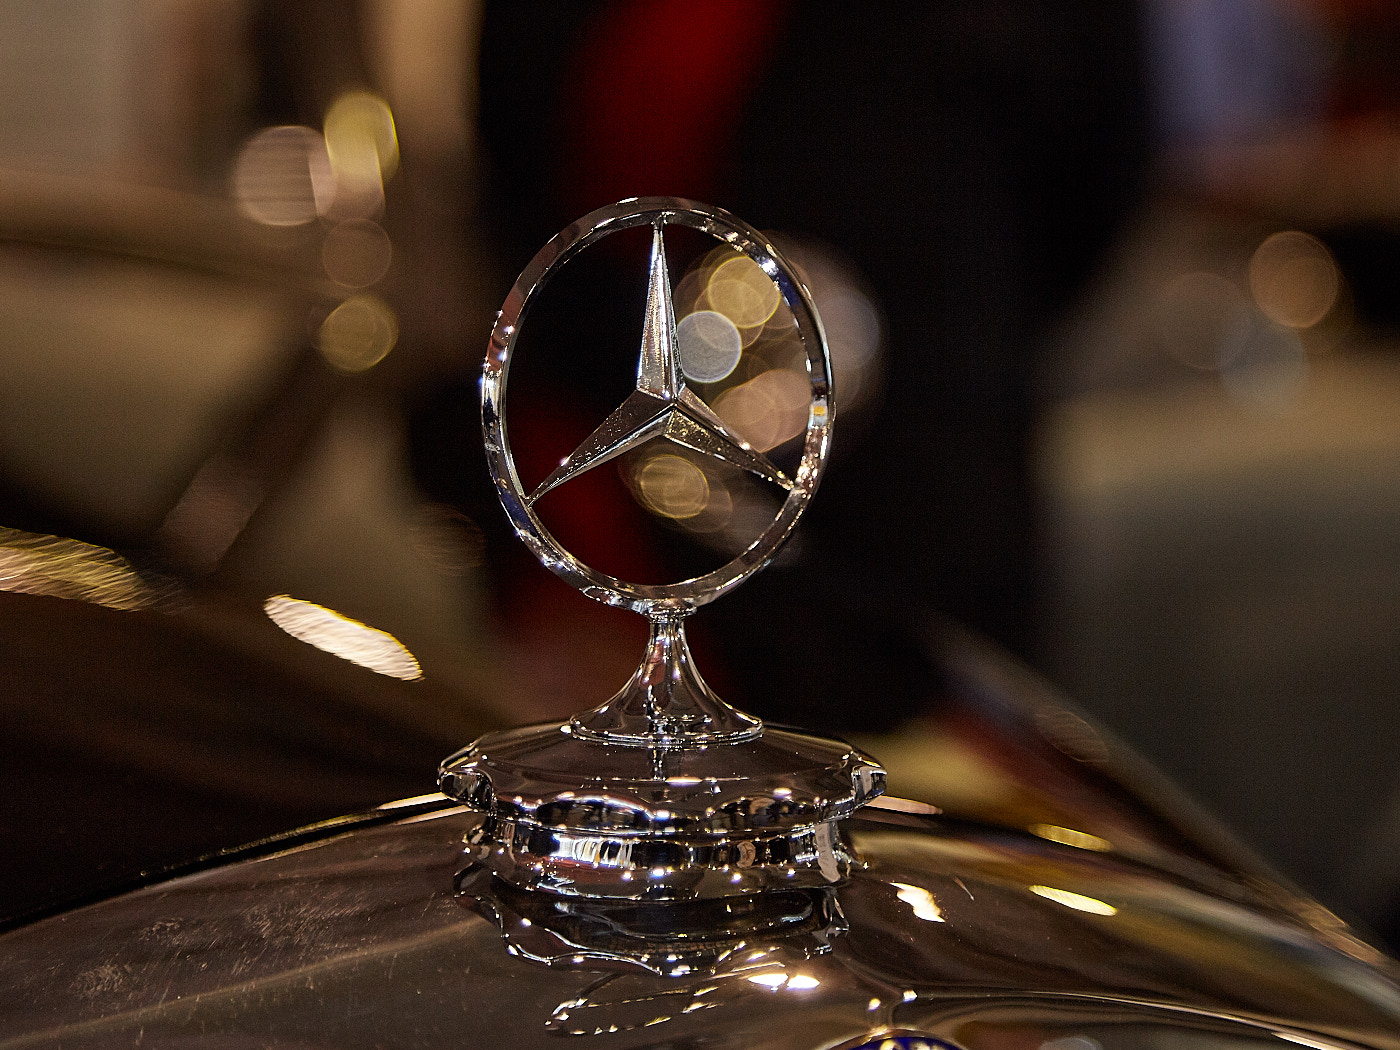
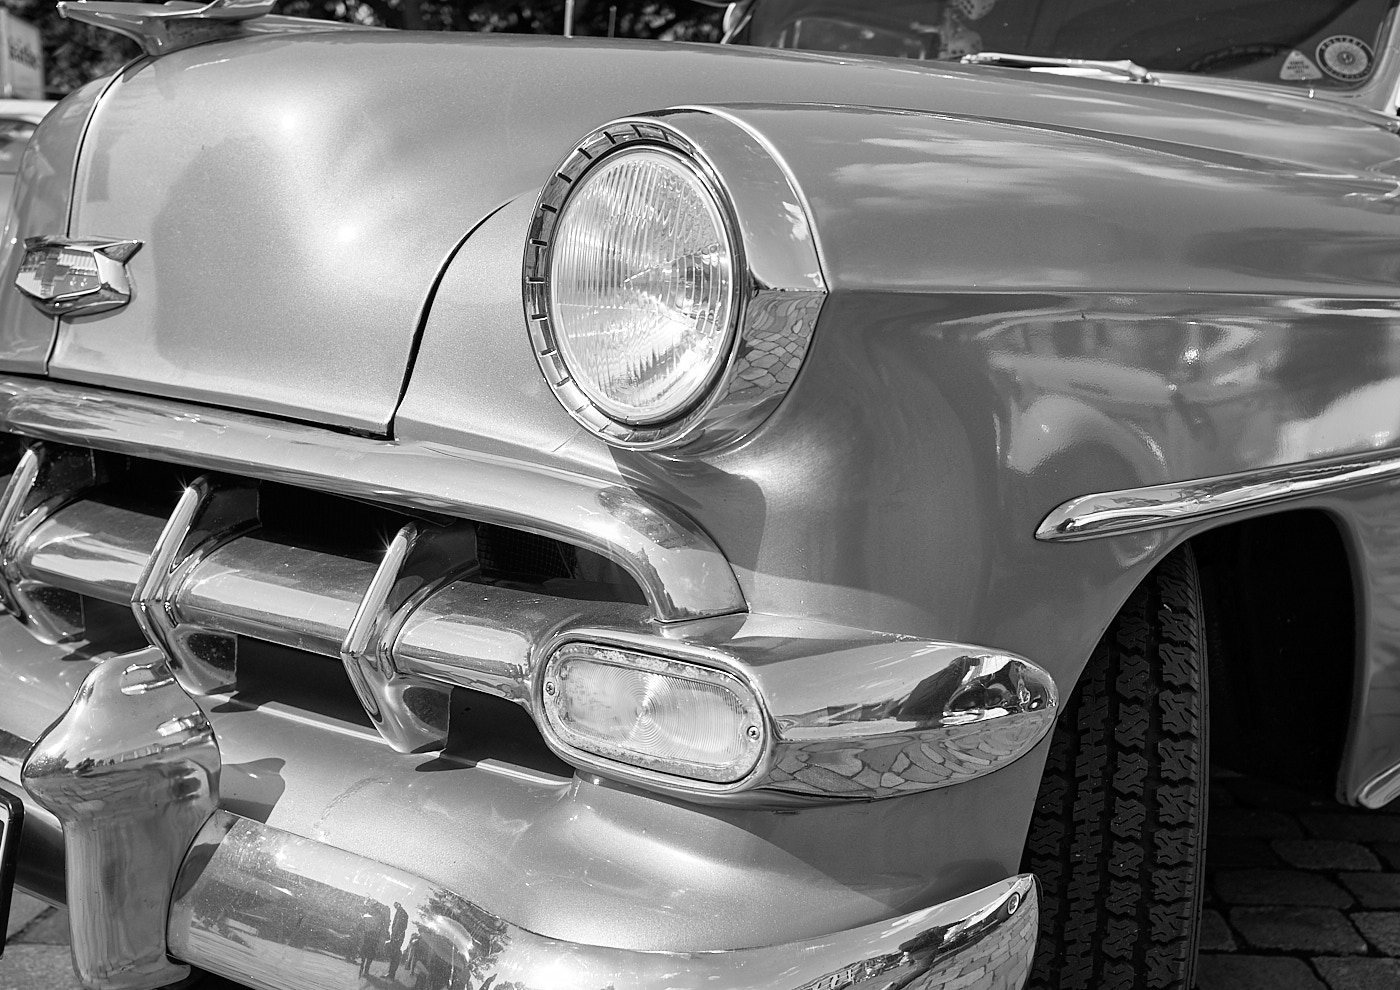
When taking shots of vehicles, always keep an eye on the lighting to bring out the paintwork as best as possible. With classic cars, black and white shots are particularly effective. The dynamics of an image can be increased by tilting the camera.
Always keep the background in mind when taking shots. People in the background are especially distracting at motor shows or classic car meets.
Settings for stationary vehicles:
- Focal length depending on the distance from the subject
- ISO as low as possible to capture the paintwork in the best possible way
- Adjust shutter speed and use a tripod if necessary
- Flash only in exceptional cases, as unpleasant reflections can occur
- Metering mode: center-weighted to evaluative/matrix
Settings for moving vehicles:
- Focal length according to the distance from the subject
- Short shutter speed, exception: panning shots
- Auto-ISO
- Metering mode: center-weighted to evaluative/matrix
- Servo autofocus, vehicle detection if available
- Flash only in exceptional cases, otherwise the image looks too static. A slight blur underlines the dynamics.